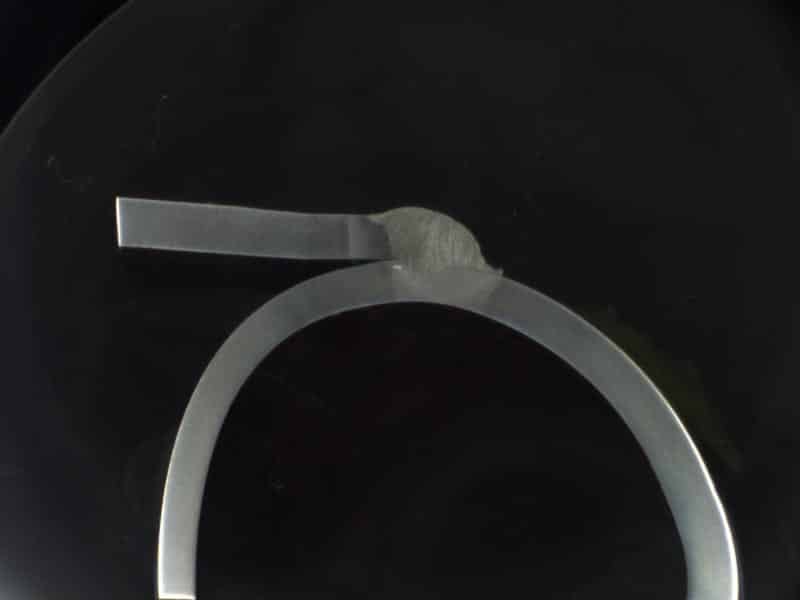
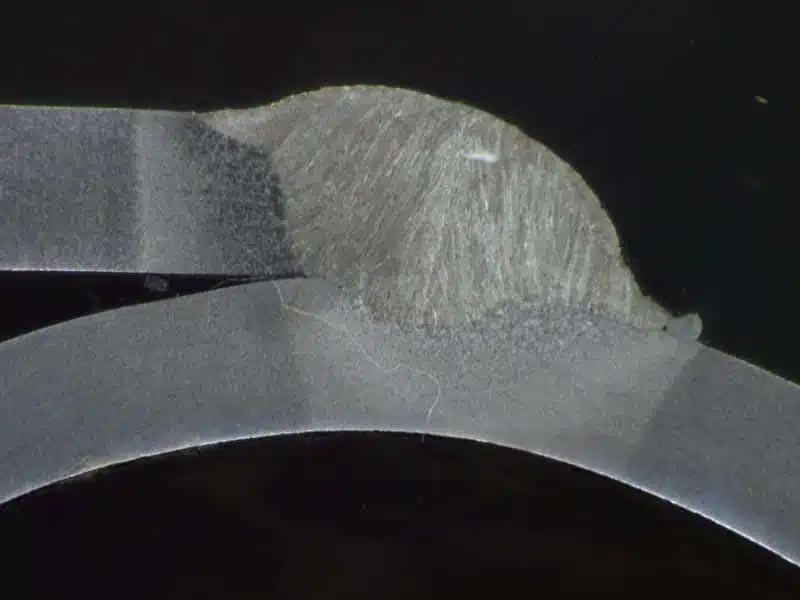
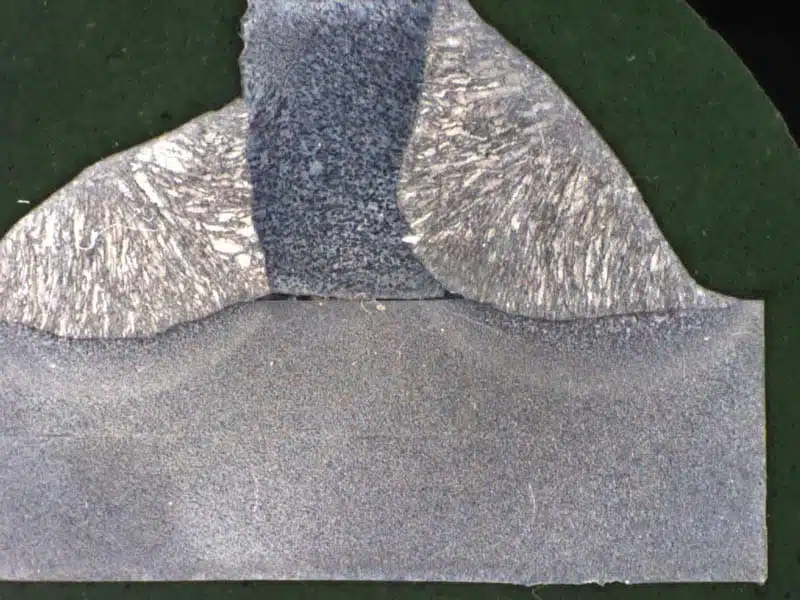
Dedicated weld seam measurement imaging station
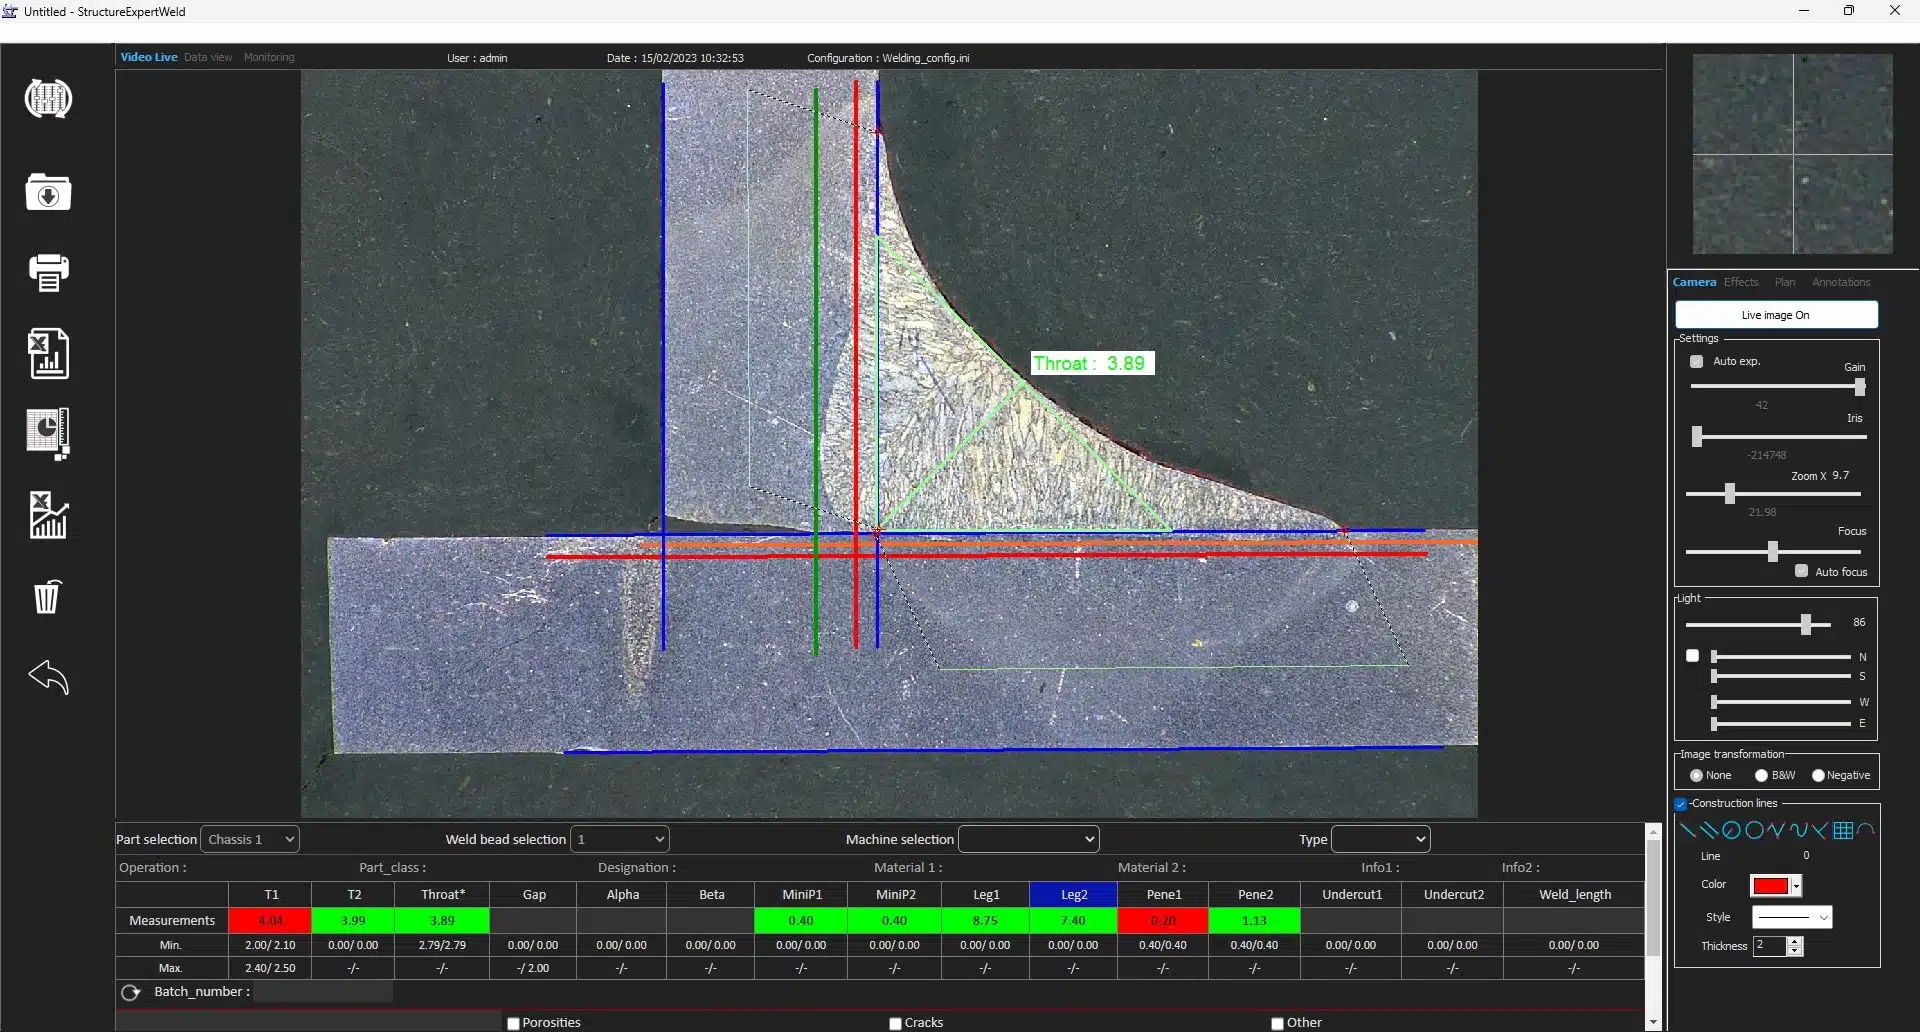
- Application: Welding measurement in the automotive industry
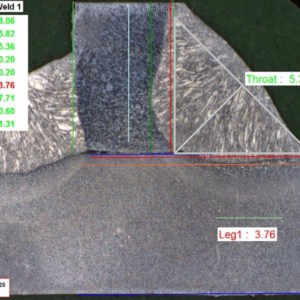
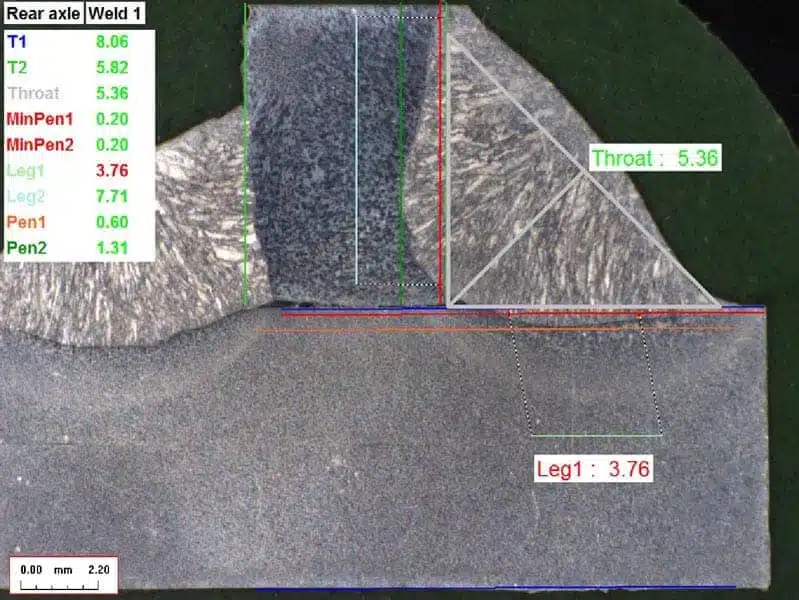
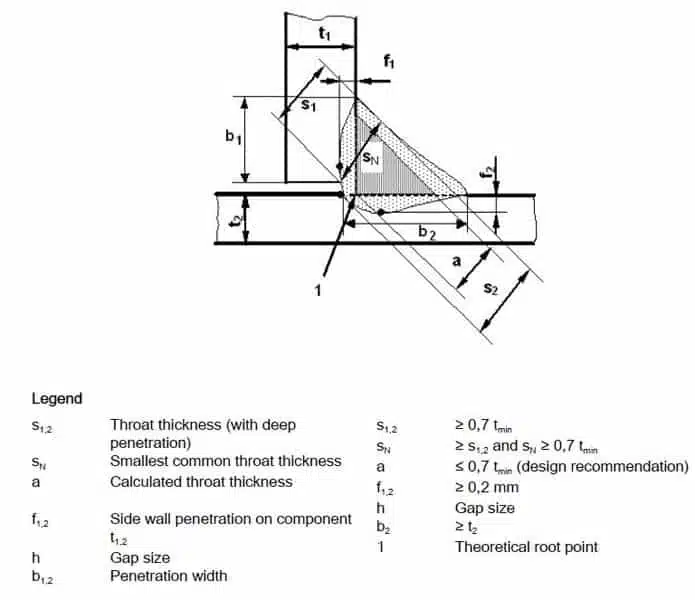
- Throat measurement
- Penetration depth
- Penetration width (seam width)
- Undercuts…
- Welding inspection : MIG, MAG etc…
- Welding quality control
- Magnification range : 2.5X to 120X
- Field of view : 82 to 1.8 mm (~ 3.2″ to ~ 0.07″),
About INSPECTION AND MEASUREMENT OF WELD SEAMS STRUCTUREEXPERT WELD-6
- Description
- ADMINISTRATOR MODE
- MEASUREMENT MODE
- DATAVIEW
- MONITORING
- REPORT GENERATOR
- QDAS /XML/JSON
- specifications
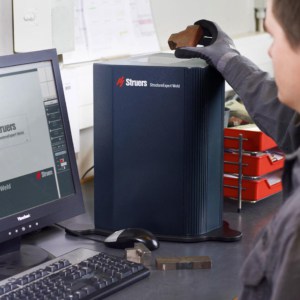
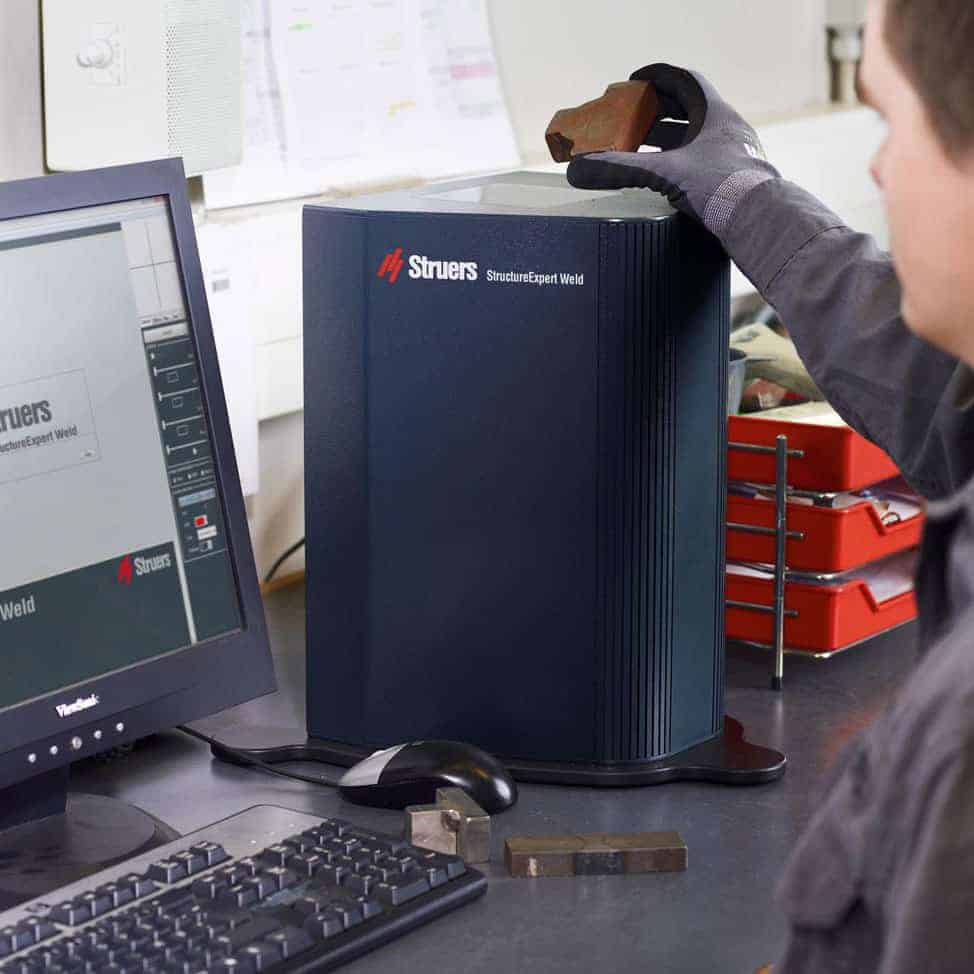
The StructureExpert Weld-6 system is the only imaging tool that is 100% dedicated to weld seam inspection and measurement. Primarily designed for your weld inspections in a production environment, where speed and efficiency are essential, the StructureExpert Weld-6 system consists of imaging hardware and a software package that is totally dedicated to weld seam analysis and measurement.
The Structure Expert Weld Imaging Station was designed and engineered for optimum efficiency and simplicity when measuring weld beads in welding quality control laboratories.
Weld seam inspection and checking has never been so easy !
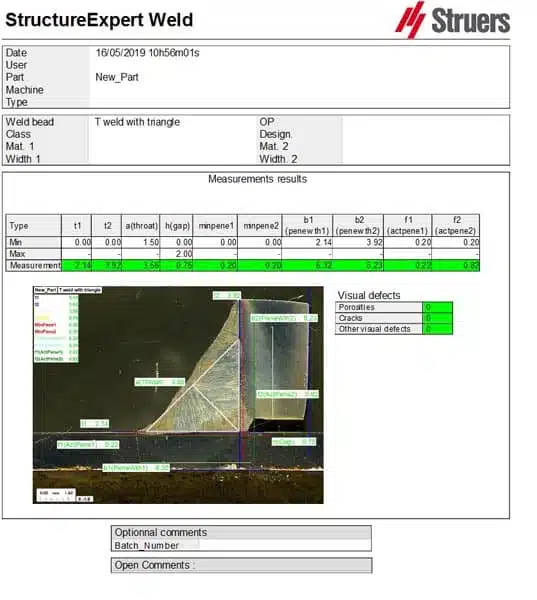
You just need to prepare a cross-section of your sample (welding macrography), and in just a few clicks you will have the image of your weld macrography, your seam’s measurements, an archive and a detailed report of the different measurements carried out on your sample.
StructureExpert Weld is indispensable for processing and monitoring dozens of weld seams. All those otherwise intricate measurements are so much easier with StructureExpert Weld. The operator finds his bearings every day and all parts and weld bead are organised. All of which makes monitoring measurements so much easier. Structure Expert Weld can be used by non-welders to carry out measurements, as tolerance levels enable "automatic" assessment of good or bad beads.

Key features of the StructureExpert Weld (Welding Expert) system :
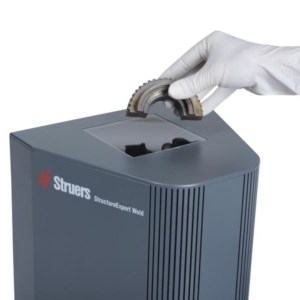
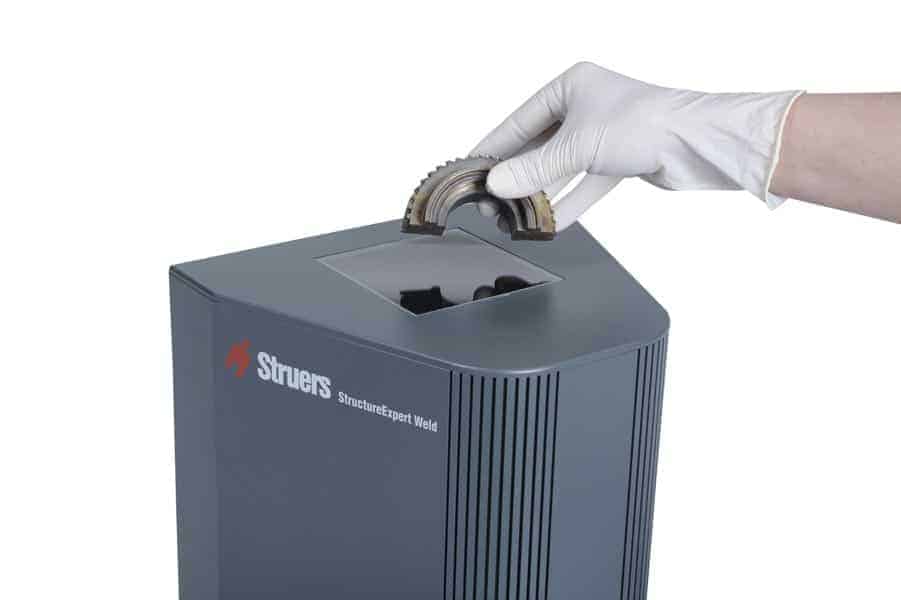
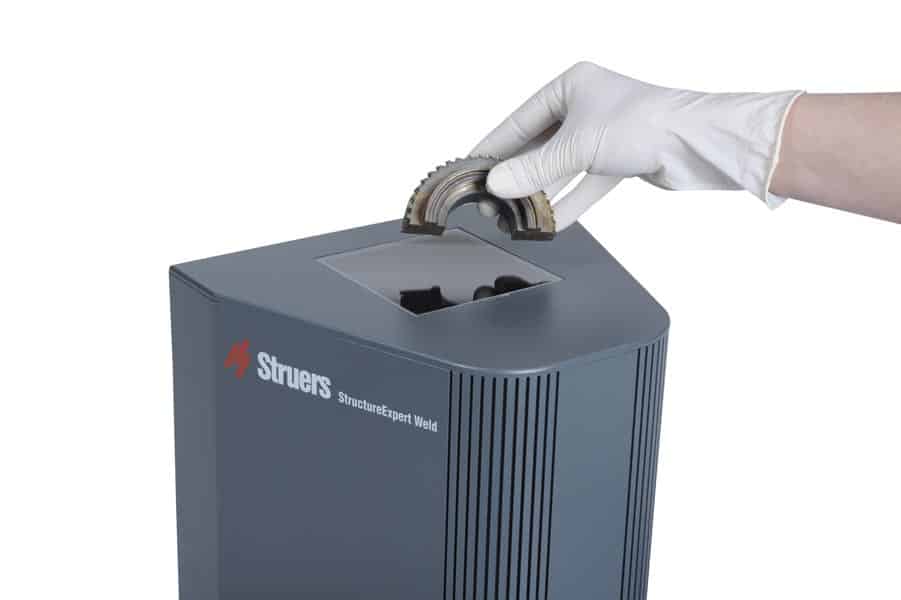
The StructureExpert Weld-6, with its inverted optical system, makes for easy weld macrography positioning.
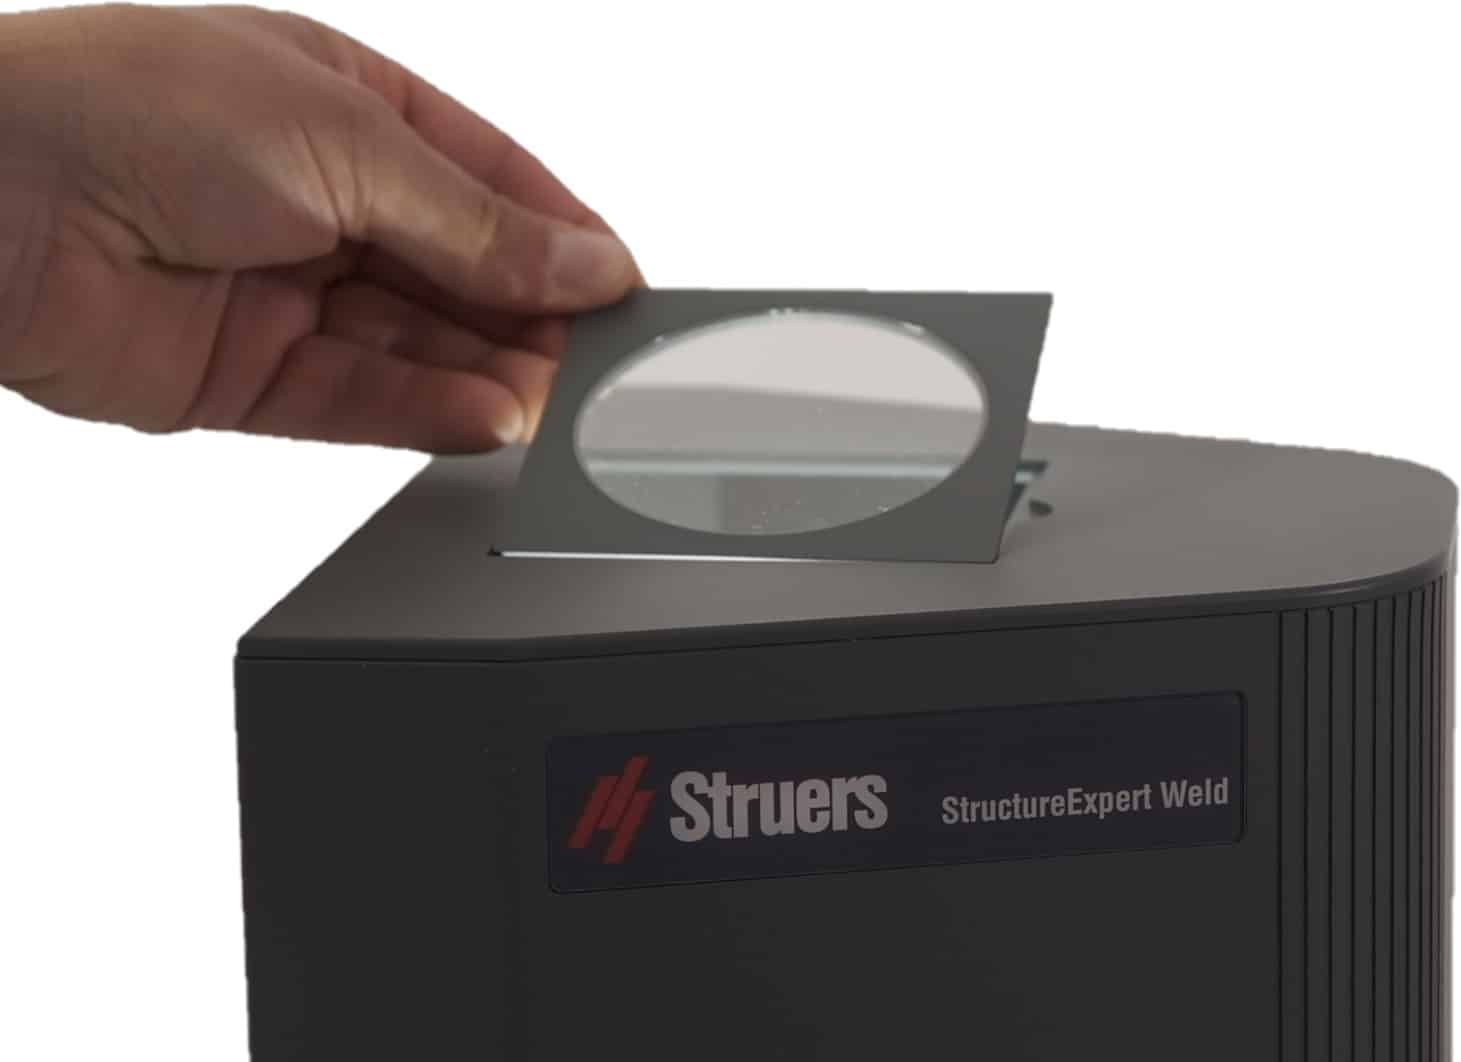
Just place the weld sample on the glass sample holder provided and you're set! The glass sample holder is interchangeable, tempered glass or 'sapphire' sample holders are also available as options.
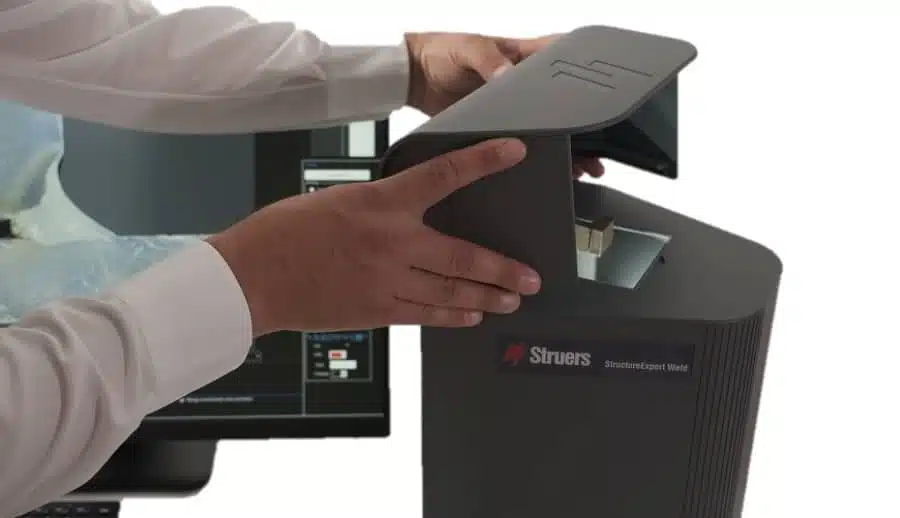
The StructureExpert Weld-6's protective cover prevents stray light and glare. It simply sits over the system, or it can be attached for extended use, ensuring that images of the same quality are obtained over time and that the measurement reports will contain the same quality of images over time.
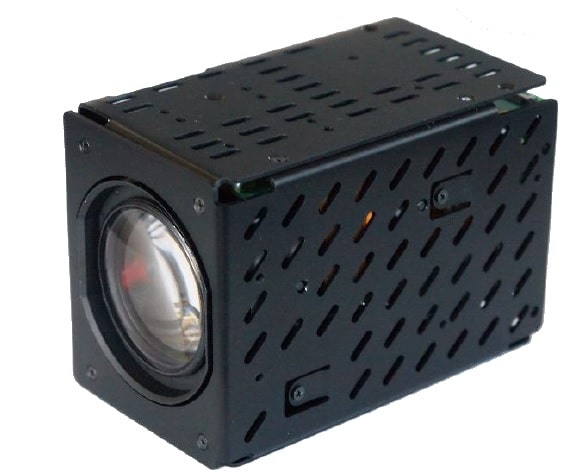
The camera in the StructureExpert Weld-6 system provides unparalleled image quality and measurement accuracy. The optical zoom offers magnification from 2.5 x to 120 x!, enabling measurement of both the widest and the thinnest welds, as the field of view adjusts from 82 mm to 1.8 mm!
Motorised zoom and auto focus : maximum flexibility to help you choose the perfect field of view for your measurements with the guarantee of a high-quality image.
The camera's autoexposure function ensures that the best possible contrast is applied to every image. Coupled with the autofocus function, you are guaranteed to get the best image every time, which in turn guarantees the quality of your weld bead measurements. Manual focus also allows you to measure your more uneven samples!

Innovative lighting system
An innovative lighting system for perfect, flawless images! The LED lighting has 4 different segments. Lighting intensity can be adjusted and each segment can be controlled separately, allowing for easier measurement by improving the contrast of the images and eliminating possible stray light, glare, etc...

Automatic calibration
Automatic calibration : The system self-calibrates in seconds, freeing the operator from that task.
It is possible to schedule recalibration reminders at regular intervals.
In addition, all calibration histories are stored and easily accessible, making it possible to prove that calibrations are carried out regularly in the event of an audit, for example.
The software package is 100% dedicated to the control and measurement of welds : There are no compromises with the StructureExpert Weld (Welding Expert) software. It is fully customisable and able to satisfy all the demands of welding quality control laboratories. In addition to the already comprehensive standard software, powerful optional modules make the StructureExpert Weld (Welding Expert) system a unique and indispensable tool for weld seam quality control.
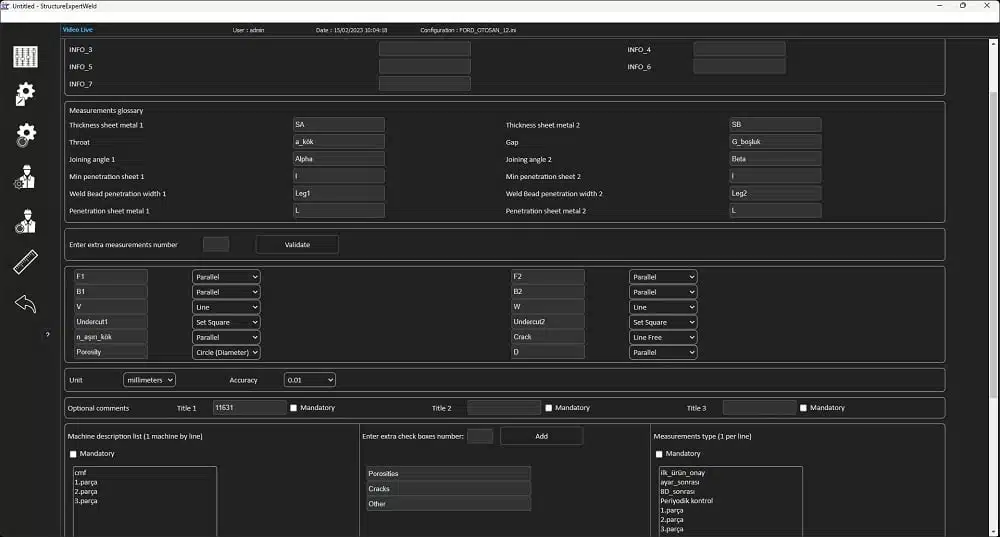
The 'administrator' mode of the StructureExpert Weld (Welding Expert) software is the operational core of the station. Since the software is fully customisable, it is possible to configure the software to meet any welding control standard :
ISO 5817, VW 01106-1, VW 01106-3, Renault 34-05-012, Renault 32-00-014, PSA B13 1540...
It will therefore be easy to select all the required measurement fields and to name them in a way that is transparent to all the technicians involved.
Structure Expert Weld allows you to use standard-specific language, for example, or a manufacturer's own terminology...
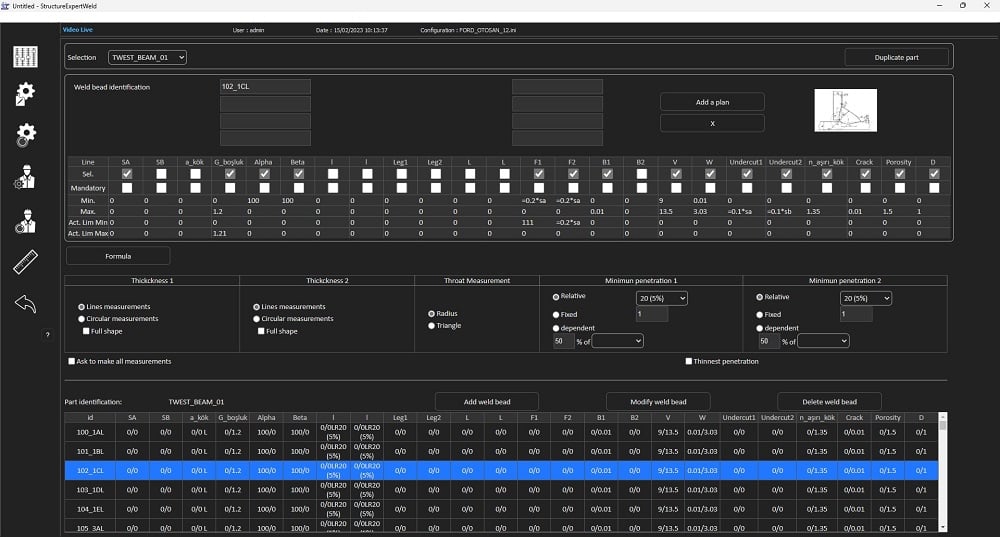
All of the parts to be inspected are created in administrator mode, as well as the set of weld seams to be measured.
It is possible to :
- Set the type of measurement to be taken on each weld bead
- Define the measurement tools to be used
- Define tolerances (Min/Max)
- Define alert levels (Min Limit Action/ Max Limit Action)
- Define mandatory measurements, etc.
StructureExpert Weld (Welding Expert) software is the fruit of 15 years of experience and continuous development to meet customer requirements and changing standards.
In the StructureExpert Weld (Welding Expert) software's measurement mode, the operator has access to all the parts created by the system administrator, one part consisting of 1 or more specific seam(s).
The user selects the part to be inspected, the weld bead to be measured, and the bead's specific parameters are automatically loaded: measurements to be taken, tolerances, measurement plan, etc...
The user does not need to calibrate the system. This is handled automatically, and the image is automatically focused (autofocus).
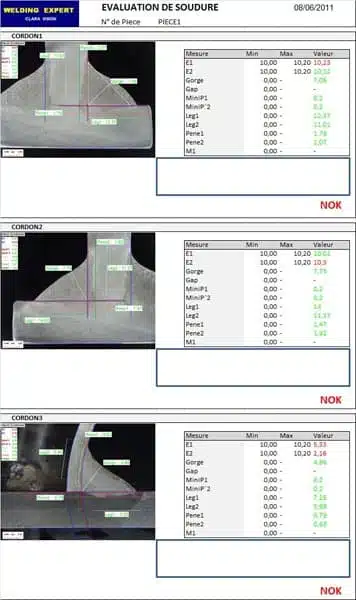
In a few clicks, the operator performs the measurements, the results are compared to the tolerances and then automatically saved, ready for inclusion in a simple measurement report or a complete "part" report.
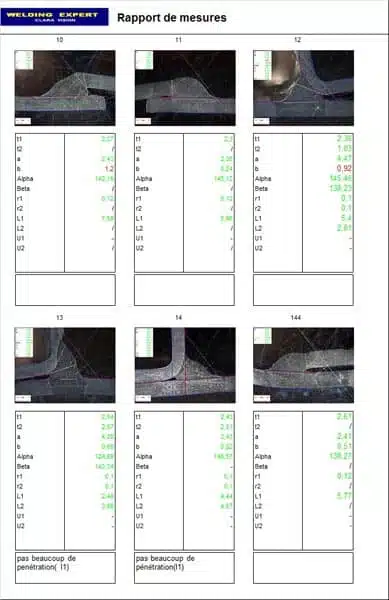
Comprehensive and customisable reports
The 'measurement' mode can also be supplemented with optional modules to further enhance the capabilities of the StructureExpert Weld (Welding Expert) software.
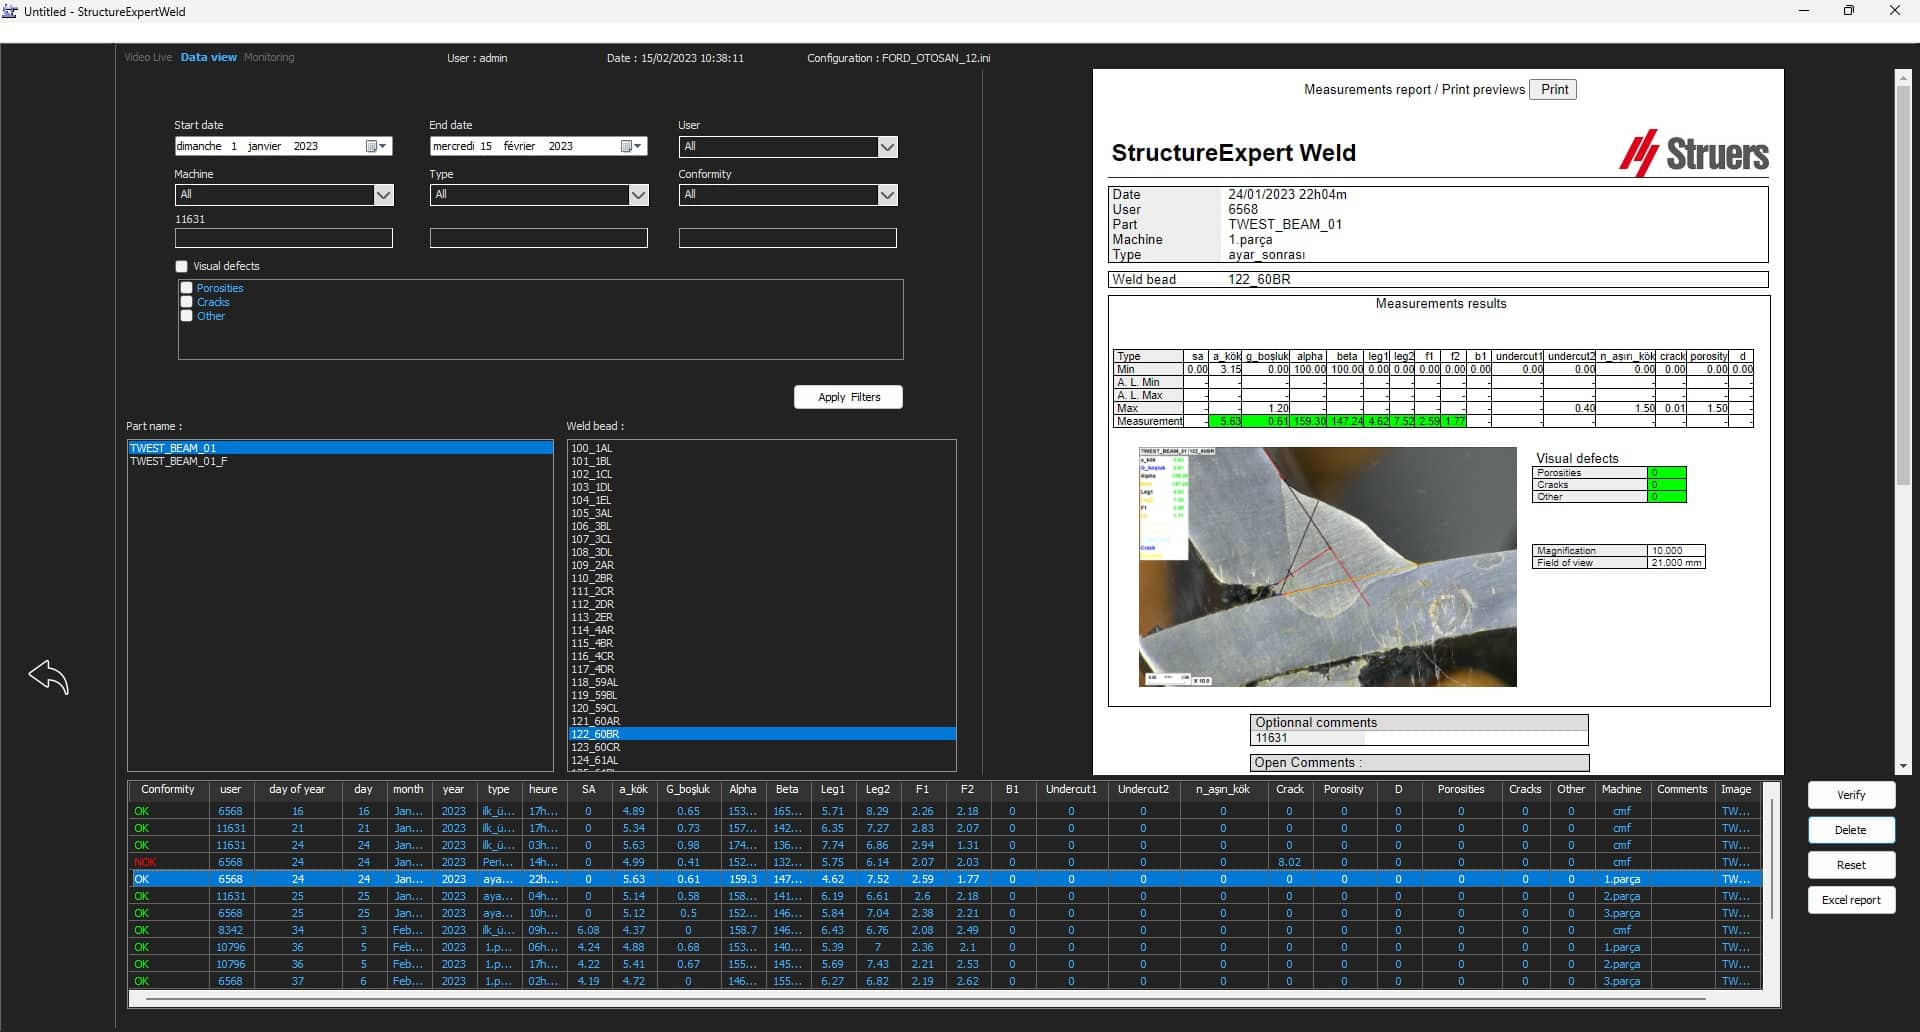
The optional "Dataview" module for the StructureExpert Weld (Welding Expert) software allows you to monitor daily measurements. It also enables past measurements to be recalled instantly, during an audit for example.
Data View makes it possible for the operator to look for old measurements in a few clicks. The search can be carried out by part batch number, by operator, by manufacturing sequence number...
It is also possible to re-issue a report with very old seams, even if you no longer have the original sample. Data View lets you keep all your measurements within reach !
Through the "Dataview" module, measurements made by the operators can be reviewed and any errors corrected. This possibility is given to the system administrator, as well as operators with an appropriate authorisation level.
The complete measurement history is available instantly and in just a few clicks!
The optional "Process Monitoring" module of the StructureExpert Weld software (Welding Expert) allows you to follow the evolution of your welding process.
In a few clicks you will have easy access to the key information on your process : Cp, Cpk, CpL, CpU, etc... The data can be sorted by date, parts, weld seams, measurements, OK/NOK, etc...
This module enables you to monitor measurement values, the curves are displayed instantaneously and you can visualise the values that fluctuate between your Min and Max tolerances... All the information on measurement trends at a glance!
The "Process Monitoring" module is a real SPC (Statistical Process Control) tool for your welding control laboratory !
OK/NOK weld seam sorting allows you to instantly identify and review non-compliant processes.
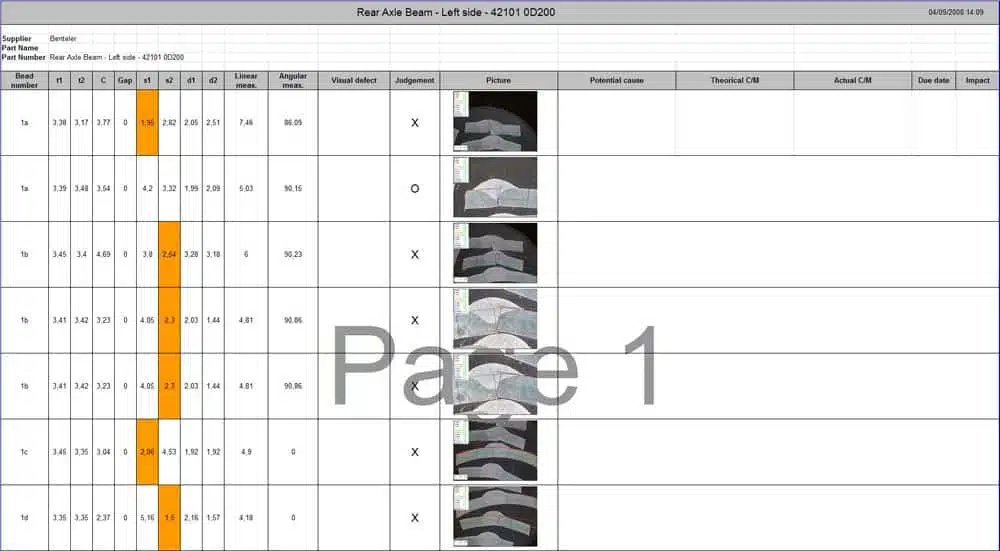
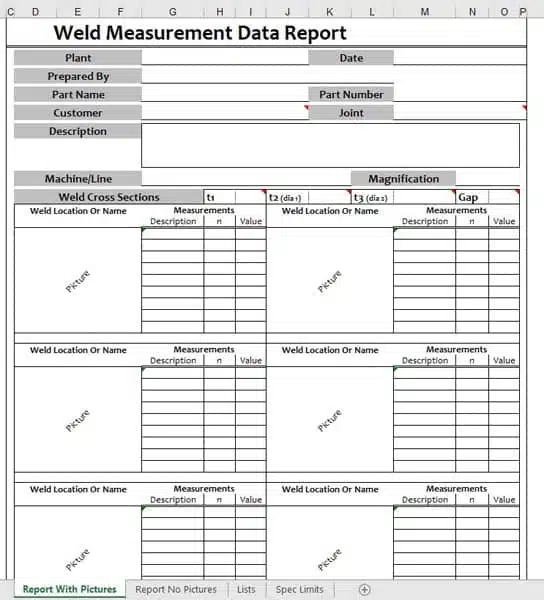
In addition to the standard report templates provided with the StructureExpert Weld (WeldingExpert) software, the optional "Report Generator" module allows you to create a customised Excel report, quickly and easily, without using complex tools.
Report Generator allows you to create custom reports using templates previously created in Excel. Links are easily created between the template and the measurement data (results, tolerances, images, ...etc.)
Your customised weld measurement report is created in a matter of seconds !
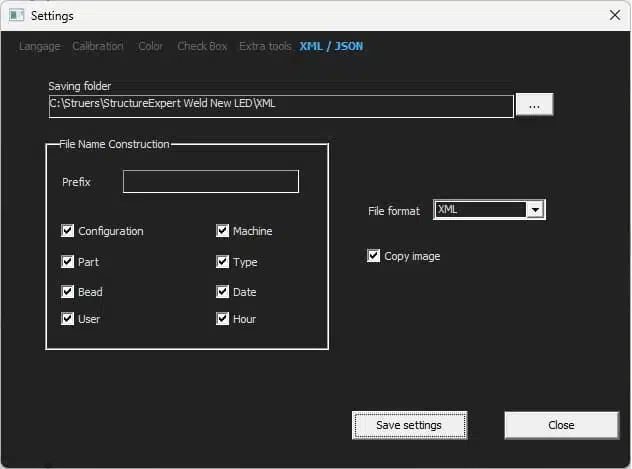
Communicating measurement results to third-party software
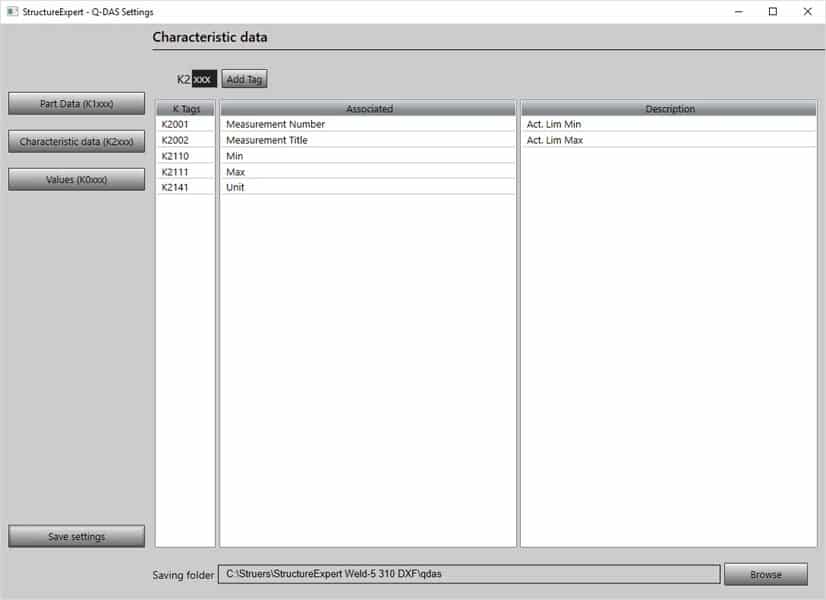
These files can then be imported directly into the Qdas statistical monitoring software.
A configuration tool enables you to link the fields and results from the StructureExpert Weld (Welding Expert) software to the K tags in the Qdas software ensuring perfect compatibility with your data structure in the Qdas software.
| Specifications | Cat.No | General Data |
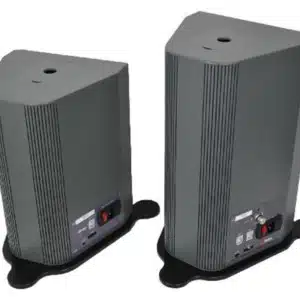
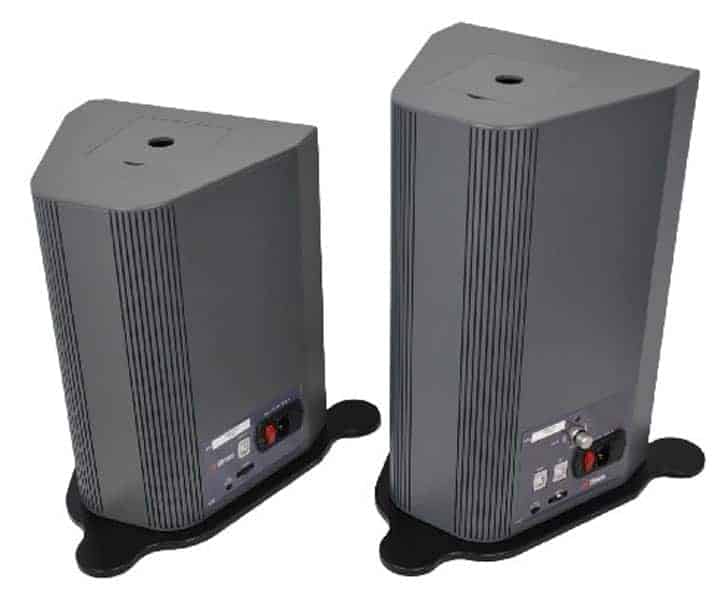
| StructureExpert Weld-6 Dedicated imaging system for weld bead measurement. Consists of compact housing, integrated LED lighting system, Full HD 1080P digital camera with motorized zoom & autofocus and dedicated software for measurement and reporting. Field of view from ~ 82 to 1.8 mm (~ 3.2” to ~ 0.07”), Equivalent to ~ 2.5x - ~ 120x optical magnification. On screen magnification (27”) ~ 7x - ~ 330x Optical zoom / digital zoom combination. Measurement accuracy: from 48µm (lower magnification) up to 1µm (higher magnification) Includes 5 glass windows (CLSET001), 2 protection covers, calibration plate (CLCAL001) and necessary cables. Additional software modules (CLOUT002, CLOUT003, CLDAT002, CLREP002, CLQDAS001, CLDXF001) are ordered separately. UKAS certificate (CLUKA001) for calibration plate and Plastic covers (CLSET002) are optional. PC and monitor are required, but not included. | CLSEW6 | StructureExpert Weld-6 H x W x D: 35 x 24.5 x 22 cm (13.8 x 9.6 x 8.7") 4 Kg / 9 lbs StructureExpert Weld-11 H x W x D: 42.5 x 24.8 x 22 cm (16.7 x 9.8 x 8.7") 6 Kg / 13 lbs Power supply 1 x 110-220 V / 50-60 Hz Operating environment -5 ° – +40°C, 20 - 95% RH, non-condensing |
| StructureExpert Weld-11 Dedicated imaging system for weld bead measurement. Consists of compact housing, integrated LED lighting system, digital camera with motorized zoom and dedicated software for measurement and reporting. Field of view from ~ 9.3 to ~ 0.8 mm (~ 0.36” to ~ 0.03”) Equivalent to ~ 20x - ~ 240x magnification. On screen magnification (27”) ~ 64x - ~ 750x Optical zoom only. Measurement accuracy: from 7.2 µm (lower magnification) up to 0.6 µm (higher magnification) Includes 5 glass windows (CLSET001), 2 protection covers, calibration plate (CLCAL003) and necessary cables. Additional software modules (CLOUT002, CLOUT003, CLDAT002, CLREP002, CLQDAS001, CLDXF001) are ordered separately. UKAS certificate (CLUKA002) for calibration plate and Plastic covers (CLSET002) are optional. PC and monitor are required, but not included | CLSYS011 | PC recommendations Windows 10, 32 & 64 bits 4 Ghz Processor / 4 GB RAM / 1920x1080 graphic card Excel 2003 Pro Edition or higher Min. 3 x USB 2.0 ports 22" Full HD monitor (1920*1080) |
| Accessories | Cat.No | |
| Glass Window Glass windows for StructureExpert Weld, 5 pcs. | CLSET001 | |
| Glass Window, hardened Hardened glass windows for StructureExpert Weld, 5 pcs. | CLWEL003 | |
| Sapphire window for StructureExpert Weld systems Consists of a 85mm sapphire window mounted into a 100mm*100mm mounting bracket. Compatible with all versions of WeldingExpert/StructureExpert weld systems. | CLFEN001 | |
| Process Tracking Module Software module for process tracking of measurement evolution over a specific time period. Data sorting : OK, NOK welds, batch number, etc… Statistical information : Cp, Cpk, Cpu, Cpl, etc… | CLOUT002 | |
| Data View Module Software module for extended display of old measurement data and for edition of old measurement results. Data sorting : OK, NOK welds, batch number, etc… | CLDAT002 | |
| Min & Max Action Limit Module Software module for definition of additional min./max. action limits (in addition to the standard min./max. acceptance criteria limits.) Includes additional report templates. | CLOUT003 | |
| Report Generator Module Software module for creation and editing of customized Excel report templates. | CLREP002 | |
| Q-DAS module for StructureExpert Weld software Works with SEW software V3.0 or higher. The module allows to save SEW data into Q-DAS ASCII Transfer format. A tool is provided to adapt the Q-DAS ASCII Transfer format to the customer requirements. | CLQDAS001 | |
| DXF module for StructureExpert Weld software Allows import of DXF files in SEW software. Requires at least software version V3.20. The DXF files are opened on the captured image, drawing can be moved and orientated according to the sample position. The DXF option is very useful to display complex drawings on SEW images, the aim is mainly to have reference lines for the operator to precisely take his measurements. | CLDXF001 | |
| XML/JSON module for StructureExpert Weld software Works with SEW software V3.21 or higher. The module allows to save SEW data into XML or JSON format for easy integration into third part software / database. | CLXML001 | |
| Plastic Covers Plastic covers for prevention of water and dirt entering the camera chamber. With mounting bracket. 100 pcs. | CLSET002 | |
| Calibration Plate Calibration plate for calibration of StructureExpert Weld-5 measurement software. 50 mm. Including accredited certificate CLUKA001 | CLCAL001 CLCAL001C | |
| Calibration Plate Calibration plate for calibration of StructureExpert Weld-11 measurement software. 50 mm. Including accredited certificate CLUKA002 | CLCAL003 CLCAL003C | |
| UKAS Certificate for Calibration Plate Accredited certificate (UKAS) for calibration plate CLCAL001. 10 points calibration. Can only be ordered in combination with CLWEL019. | CLUKA001 | |
| UKAS Certificate for Calibration Plate Accredited certificate (UKAS) for calibration plate CLCAL003. 10 points calibration. Can only be ordered in combination with CLSYS011. | CLUKA002 | |
| Coaxial illumination for StructureExpert Weld-11 Illumination system for improved structural analysis. For StructureExpert Weld-11 | CLWE0020 |
