Perfect Image, metallography image analysis software
Perfect Image is the market leader in metallography image analysis, enabling our laboratory clients to perform accurate quality control. The software’s different features are ideally suited to all applications. Perfect Image is a major asset for the metal, automobile, medical or aeronautics industries. Easy to use so you will be ‘up and running’ quickly, its modular design means it can adapt to any situation: dimensional measurements, phase fraction, grain size, layer thickness…
About Perfect Image : Metallography image analysis software
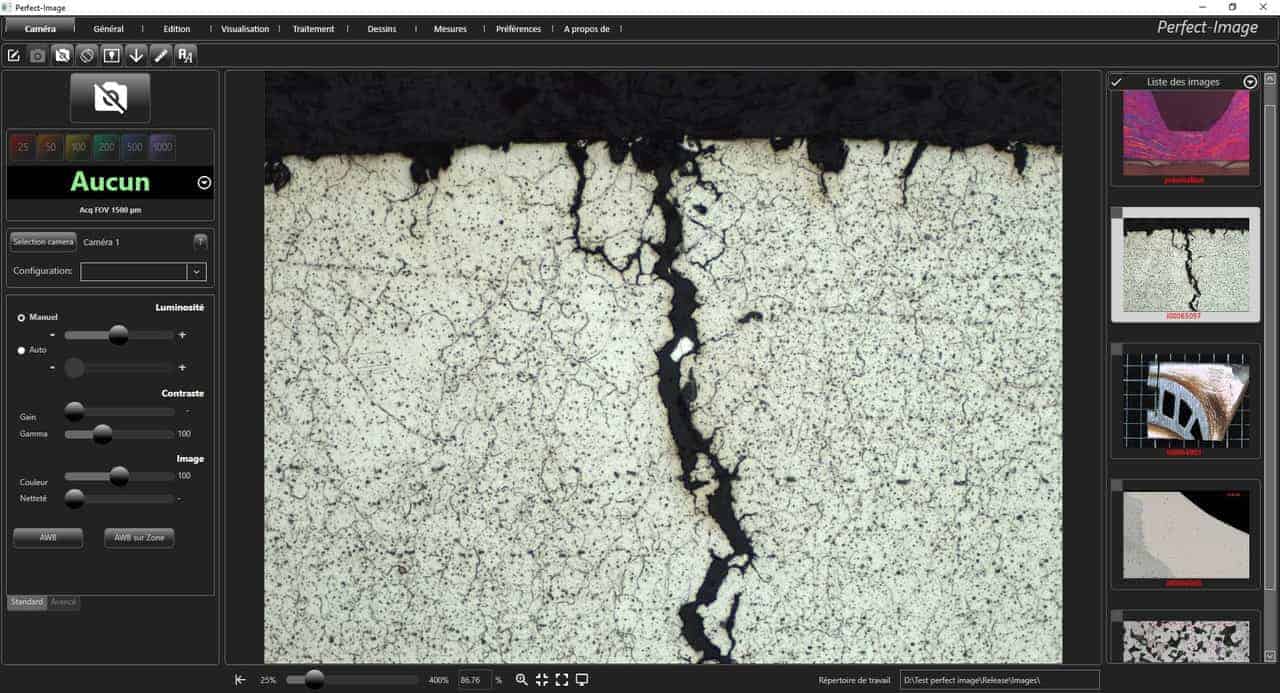
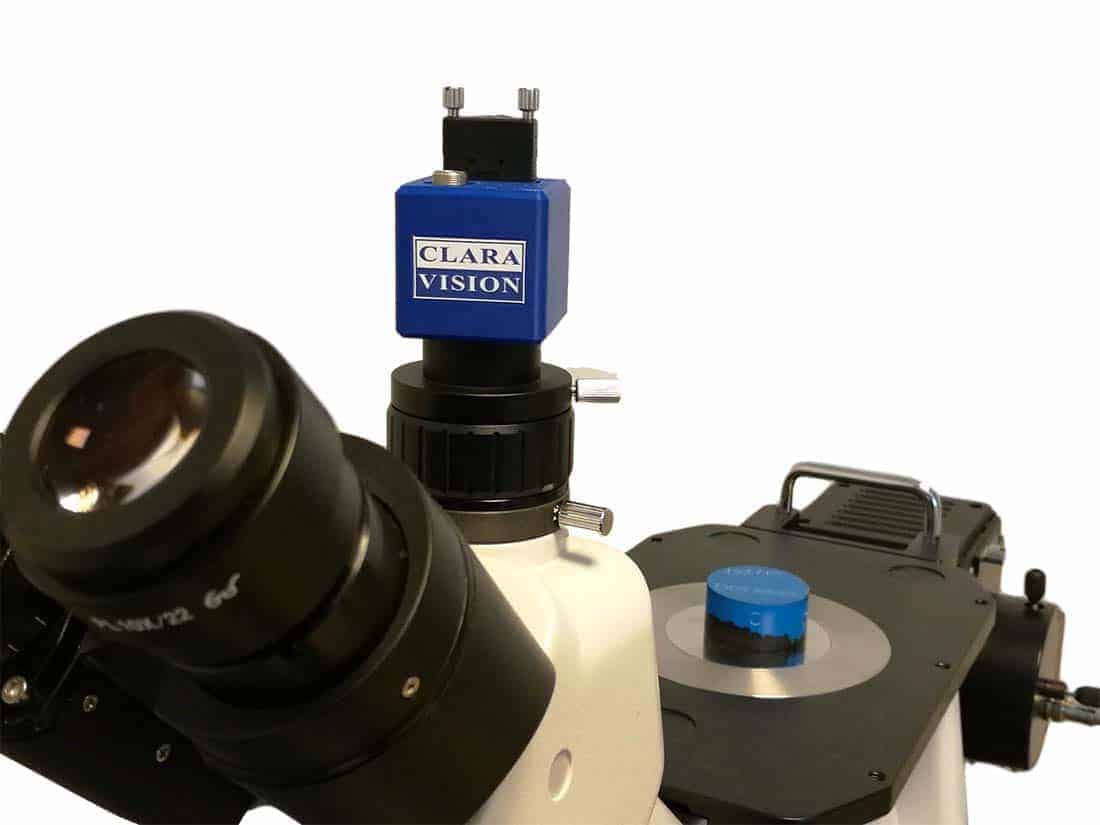
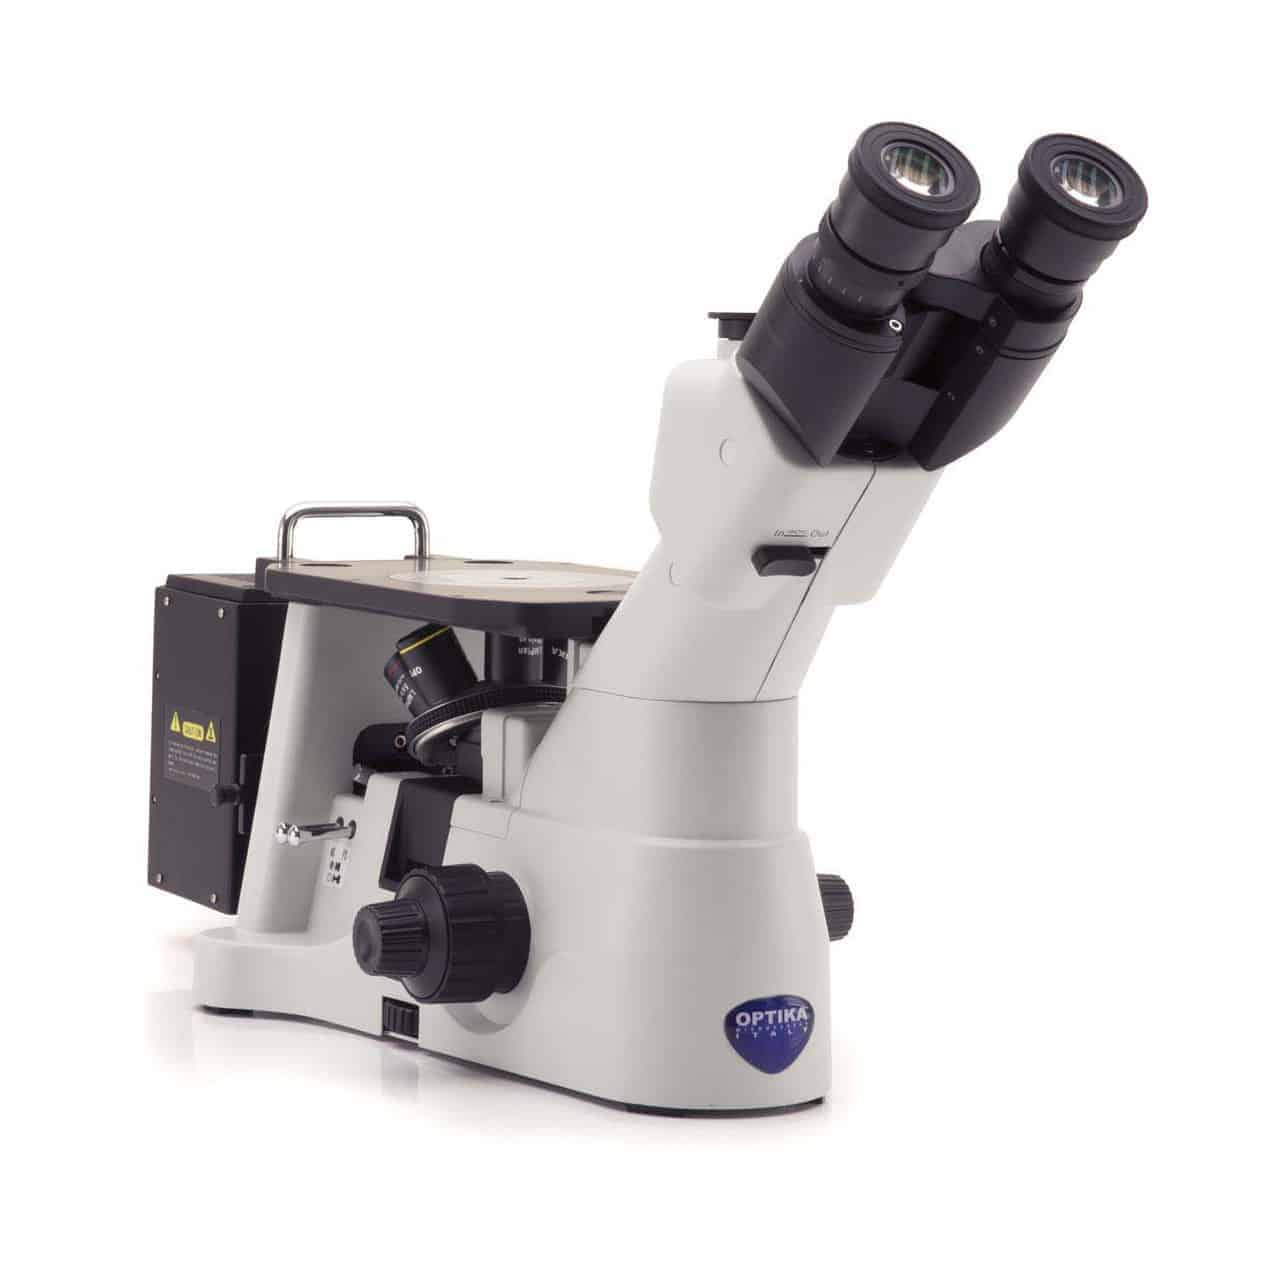
Using our digital cameras, or other Twain sources, Perfect Image captures high resolutions images from your microscope or binocular stereomicroscope.
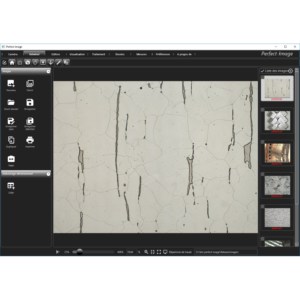
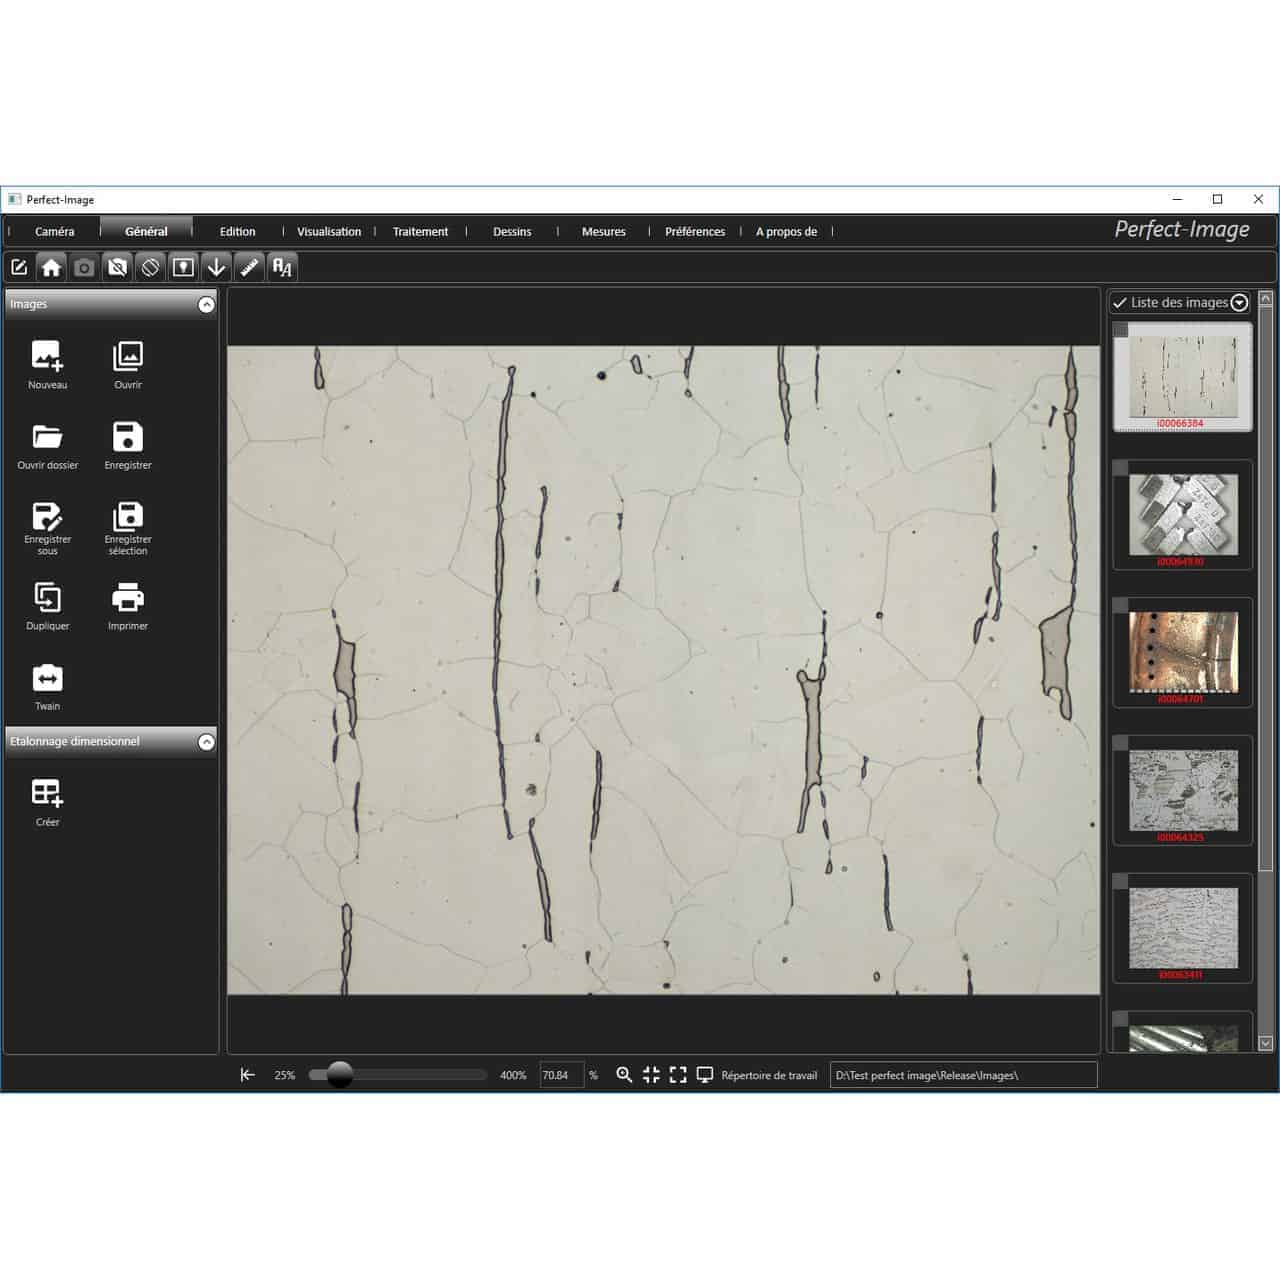
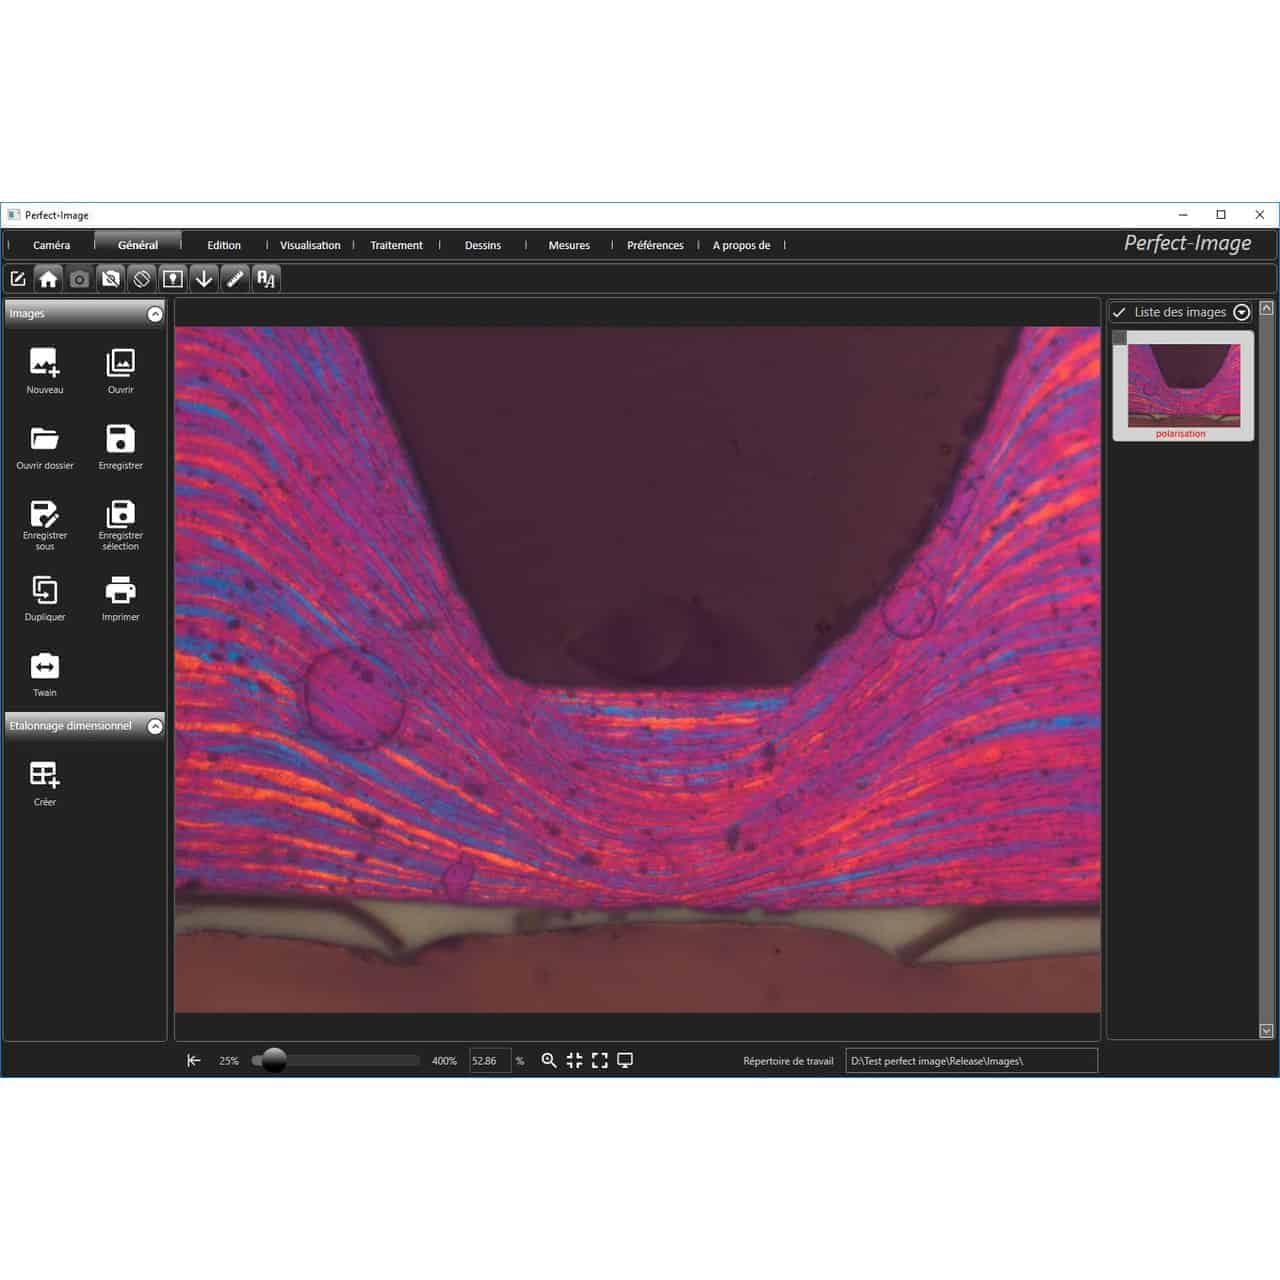
The interface is clear, enabling the user to become familiar with the software very quickly. The toolbar can be completely customised, making it possible to configure the software very simply with the most frequently used functions. This in turn makes it easier for the operator to navigate between the different features provided by the product.
To further simplify operation and adjustments, many parameters can be stored, such as image acquisition settings. The software has a function for storing your camera’s settings. Keeping the same camera settings guarantees consistent images across all of your documents. They are displayed as thumbnails, giving quick access to previously captured images.
Perfect Image offers many tools to assist you in your analyses. A range of imaging tools are provided as standard, such as:
- HDR
- Image optimisation (contrast/brightness…)
- Shading correction (for consistency)
- Z axis image stacking: multi-focus (extended depth of field)
- Panoramas: Metaview (cartography)
- Comparison with reference images
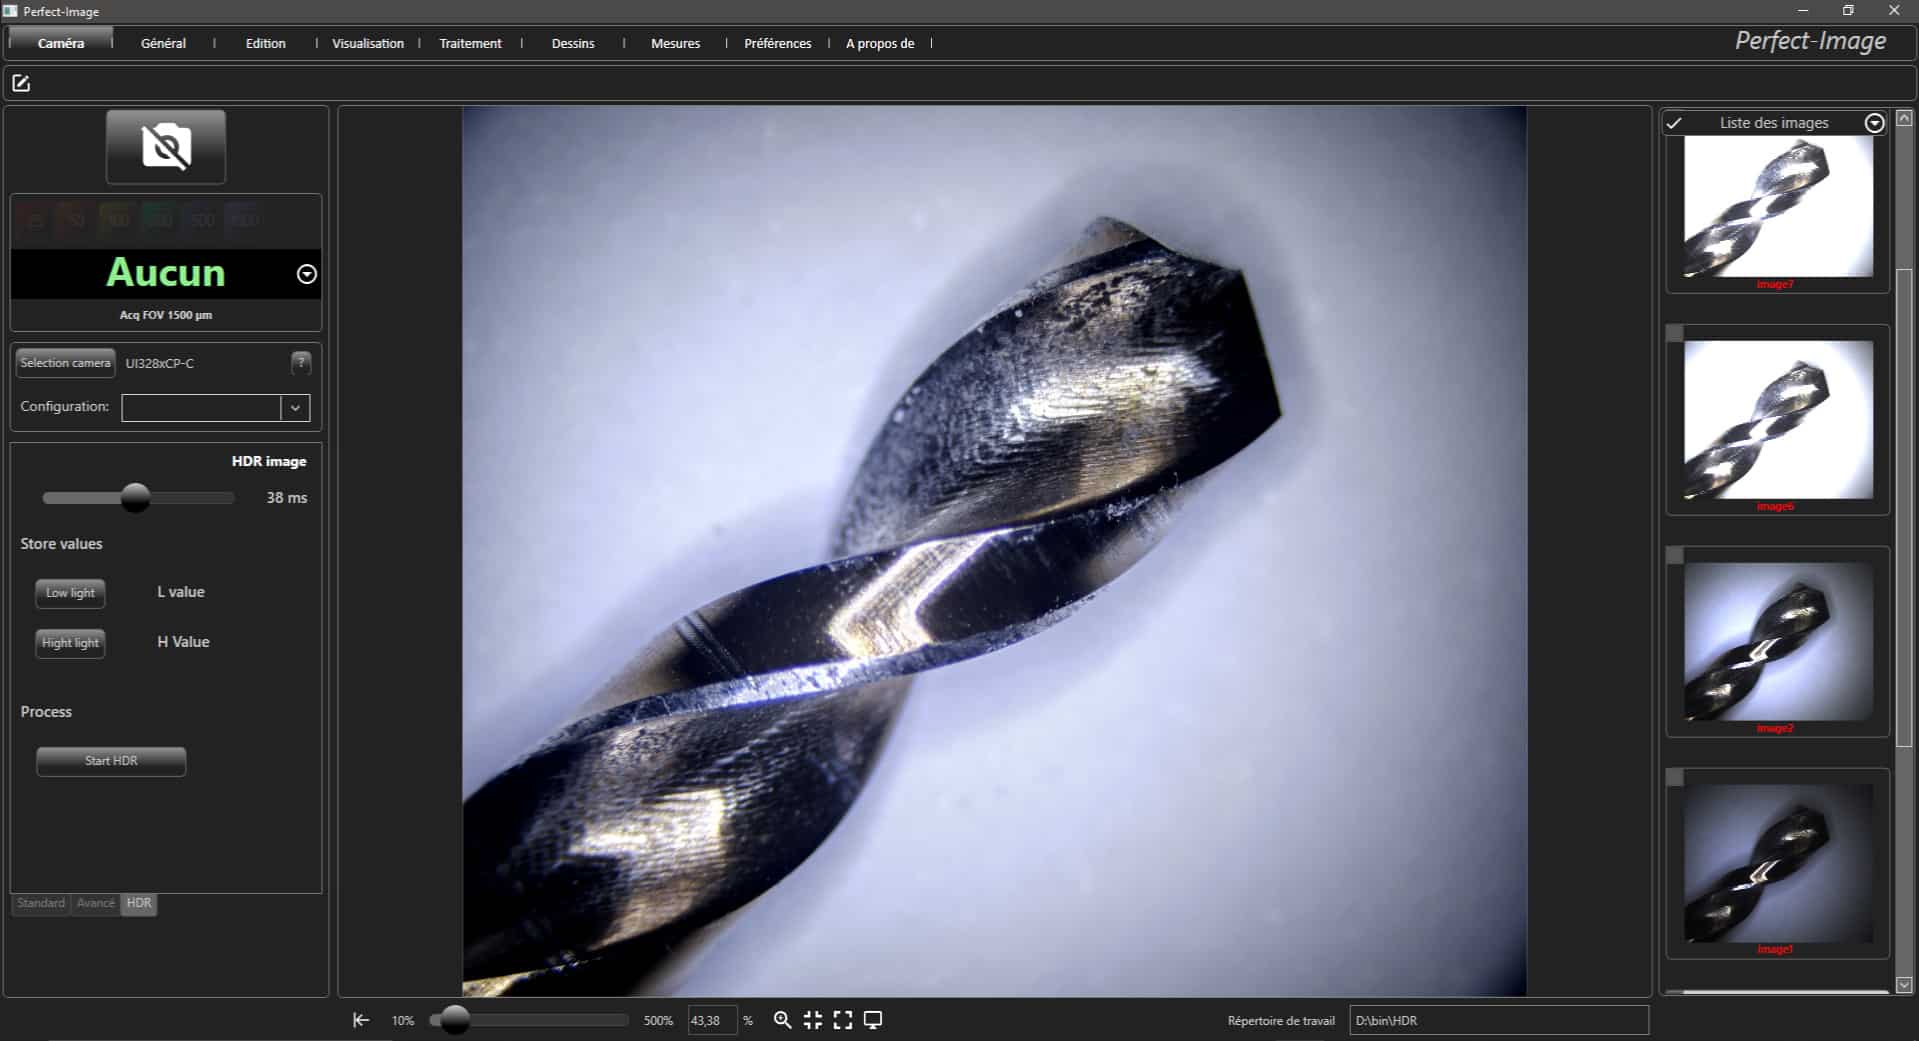
The HDR function allows you to optimise the bright (reflective) and dark areas on your sample, vastly improving the contrast and making analysis of the captured image easier. Other processing tools make it possible to delete artefacts or simply reframe the capture area.
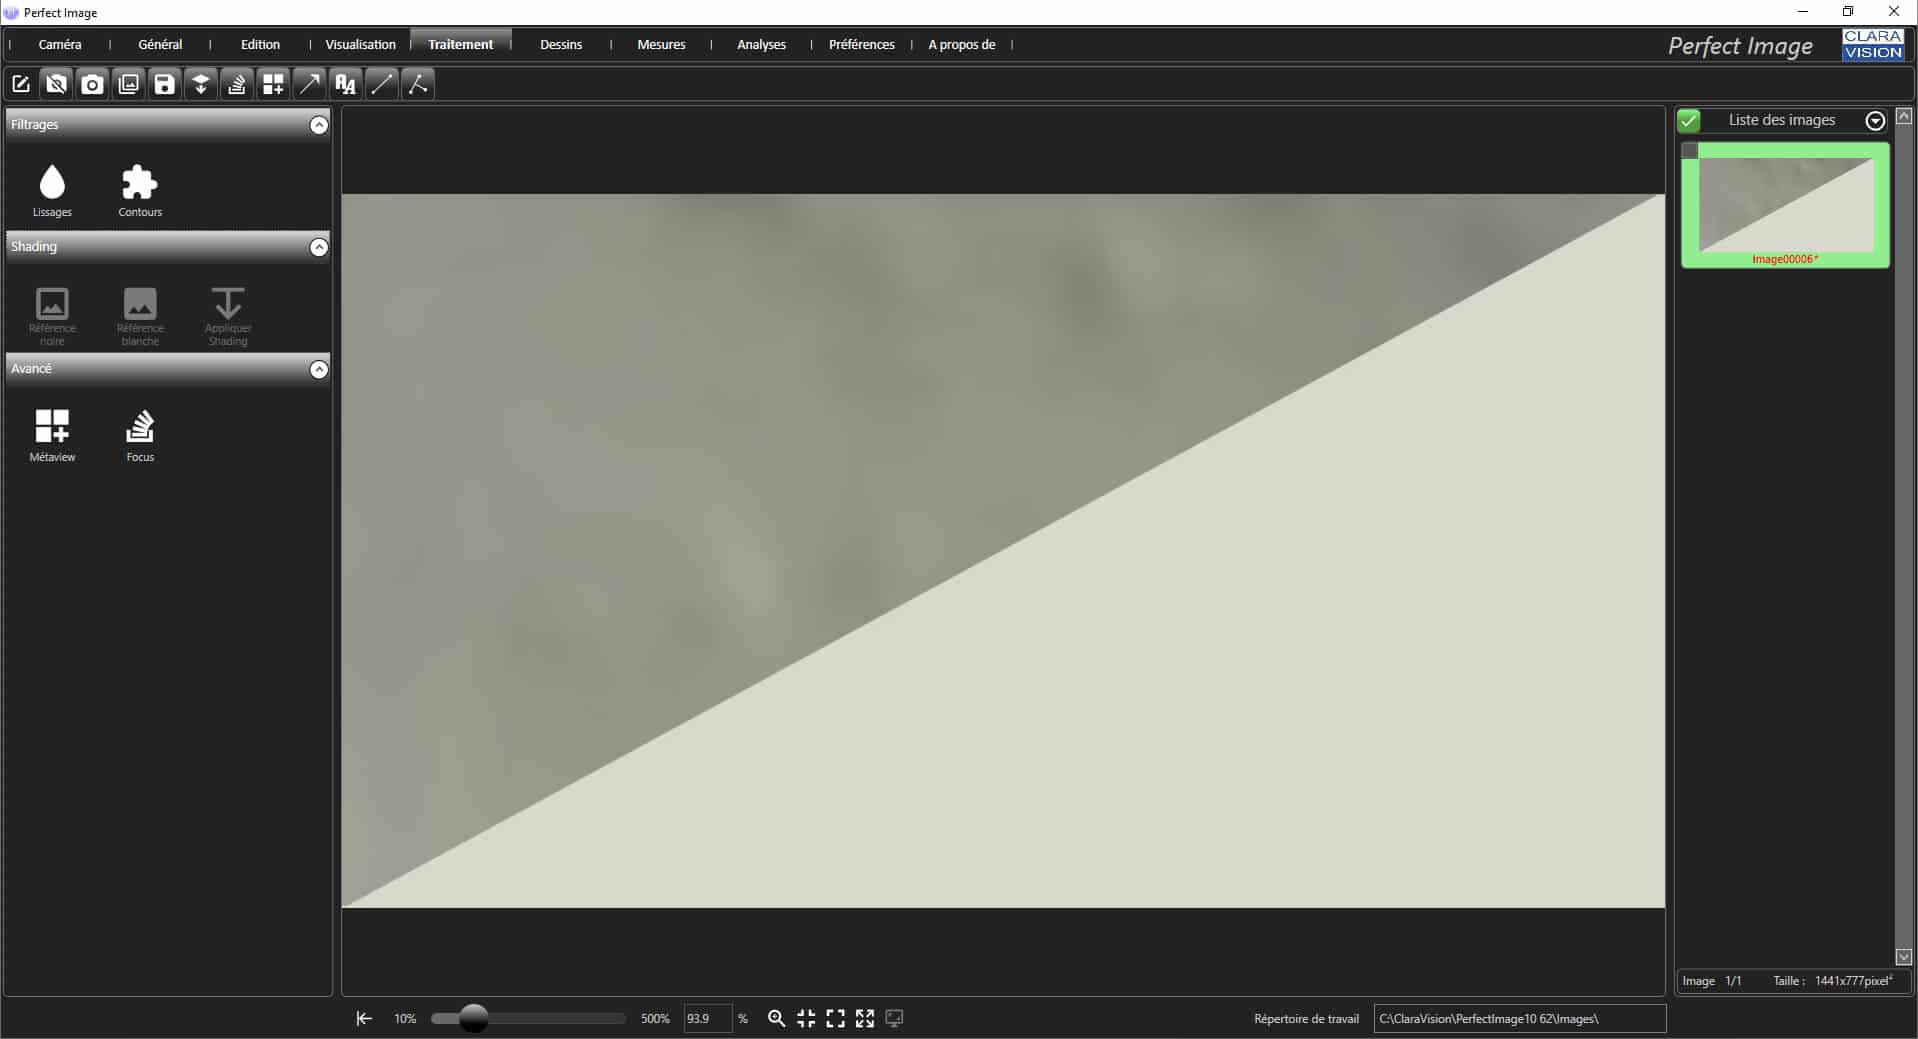
Shading correction is a very useful tool that provides an even image background with a single click. This makes it easier for the operator to work with the captured image.
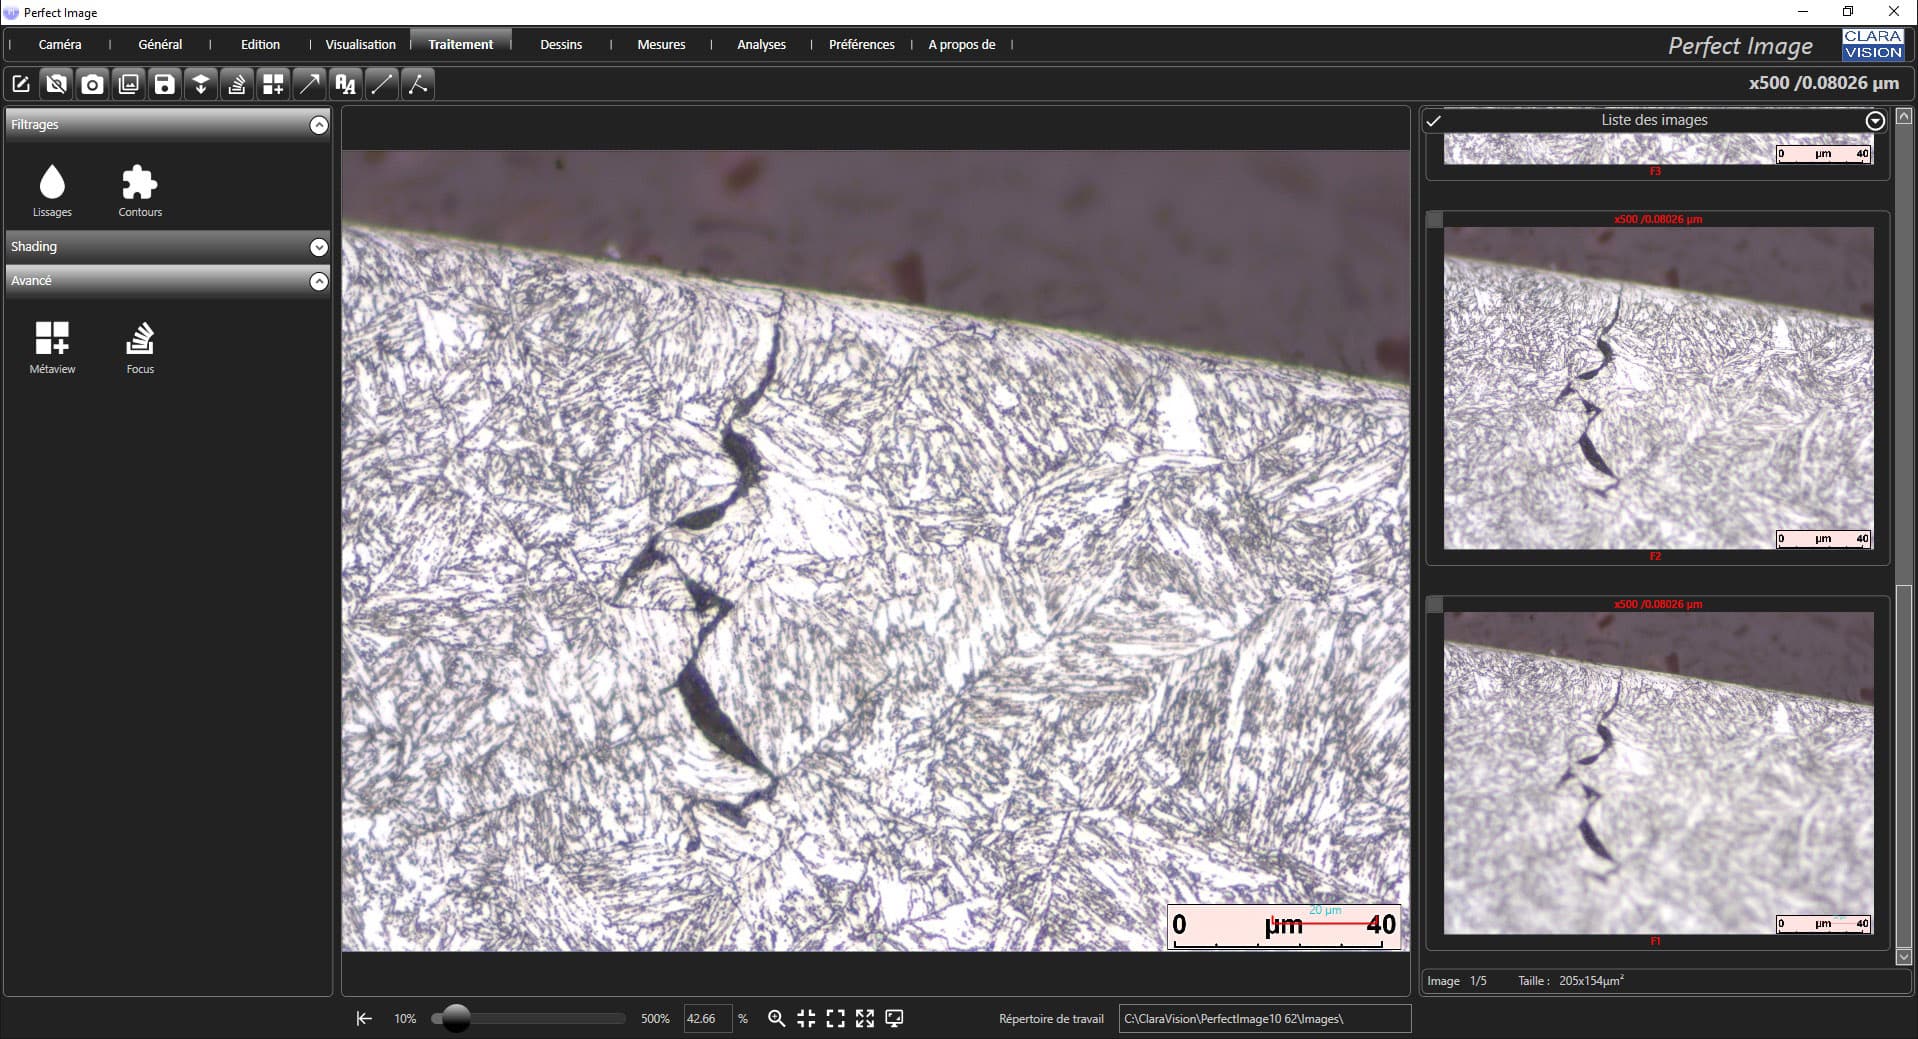
The Multi-focus feature makes it possible to capture several images with different focal points, which are then stacked to provide a completely sharp final image.
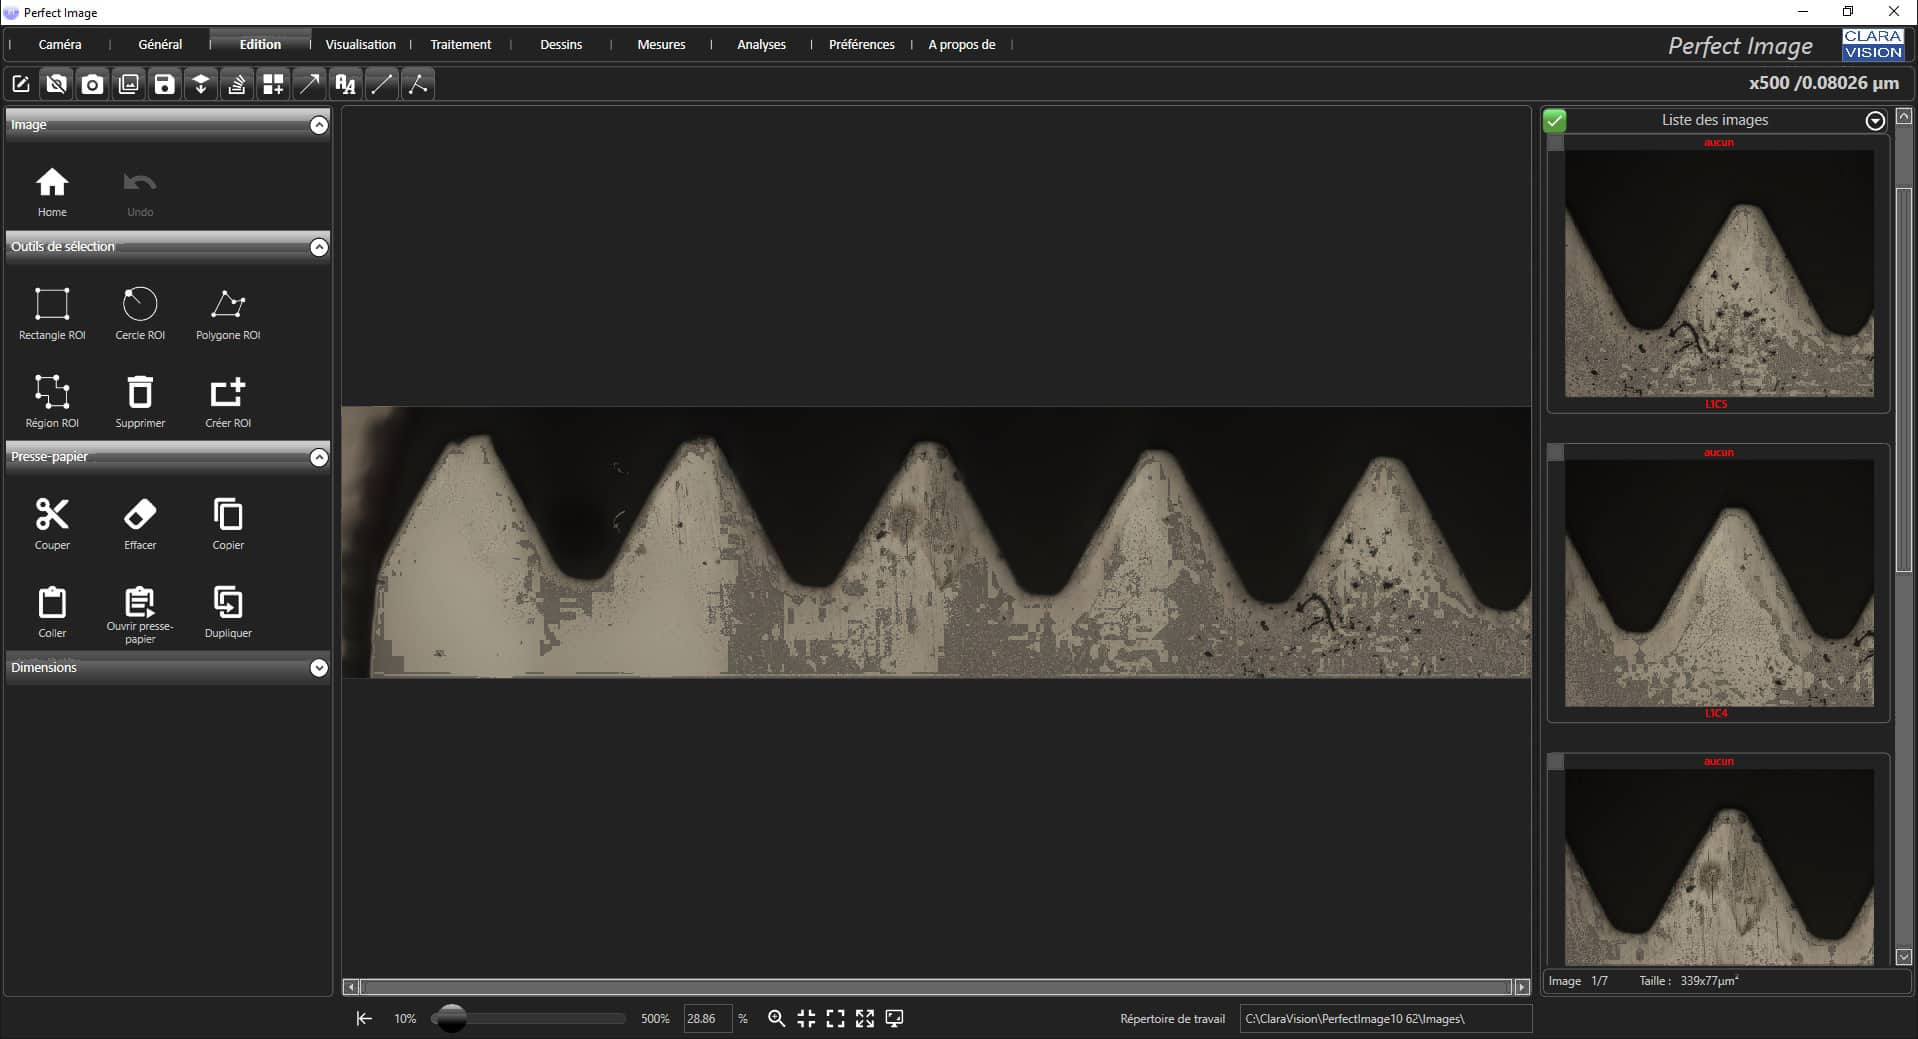
Another essential aspect, the Metaview Function is used to create panorama images. This functionality is very useful to obtain an overview of the sample. Without any extra equipment. By simply moving the microscope stage, the software will be able to map your sample in the highest possible resolution.
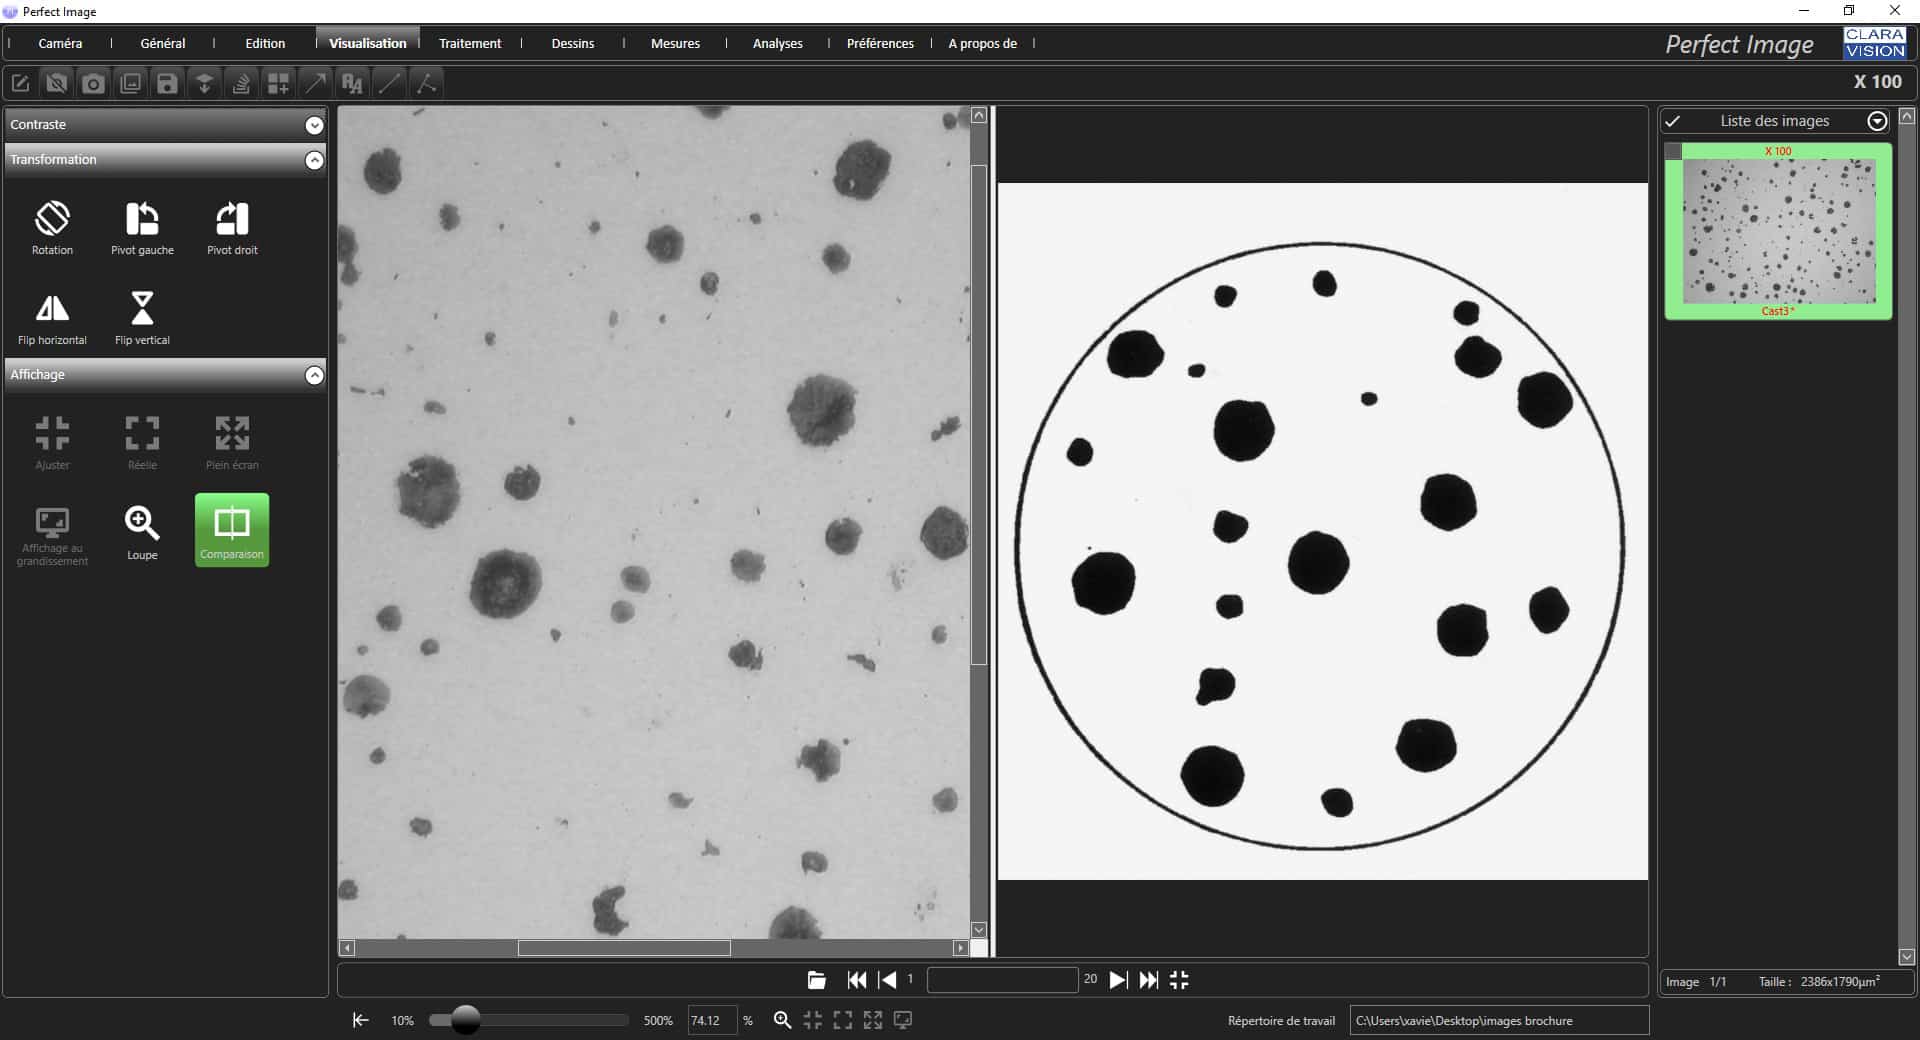
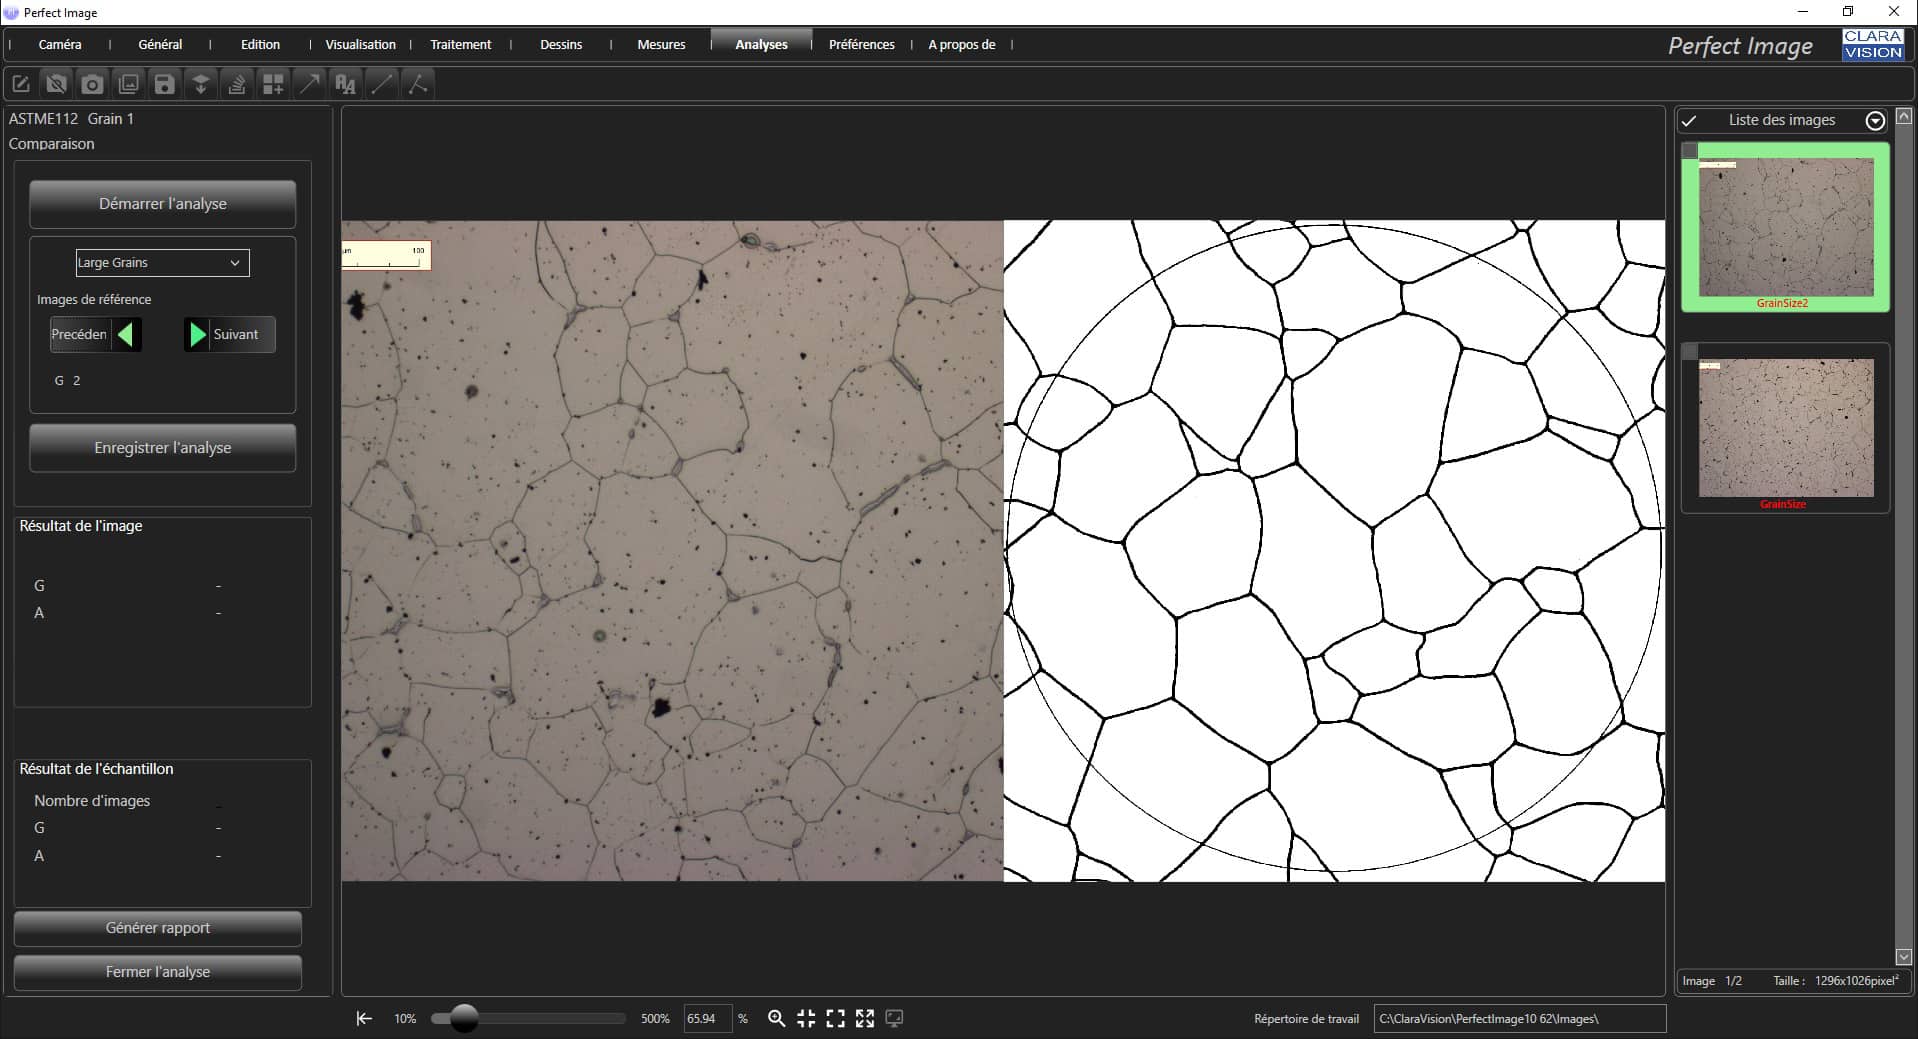
Perfect Image also enables you to compare pictures of your samples with reference images.Many standard images are supplied with the software such as ASTM E 112, ISO 643 and ISO 945 standards. Of course you may add other reference images if required, with ease.
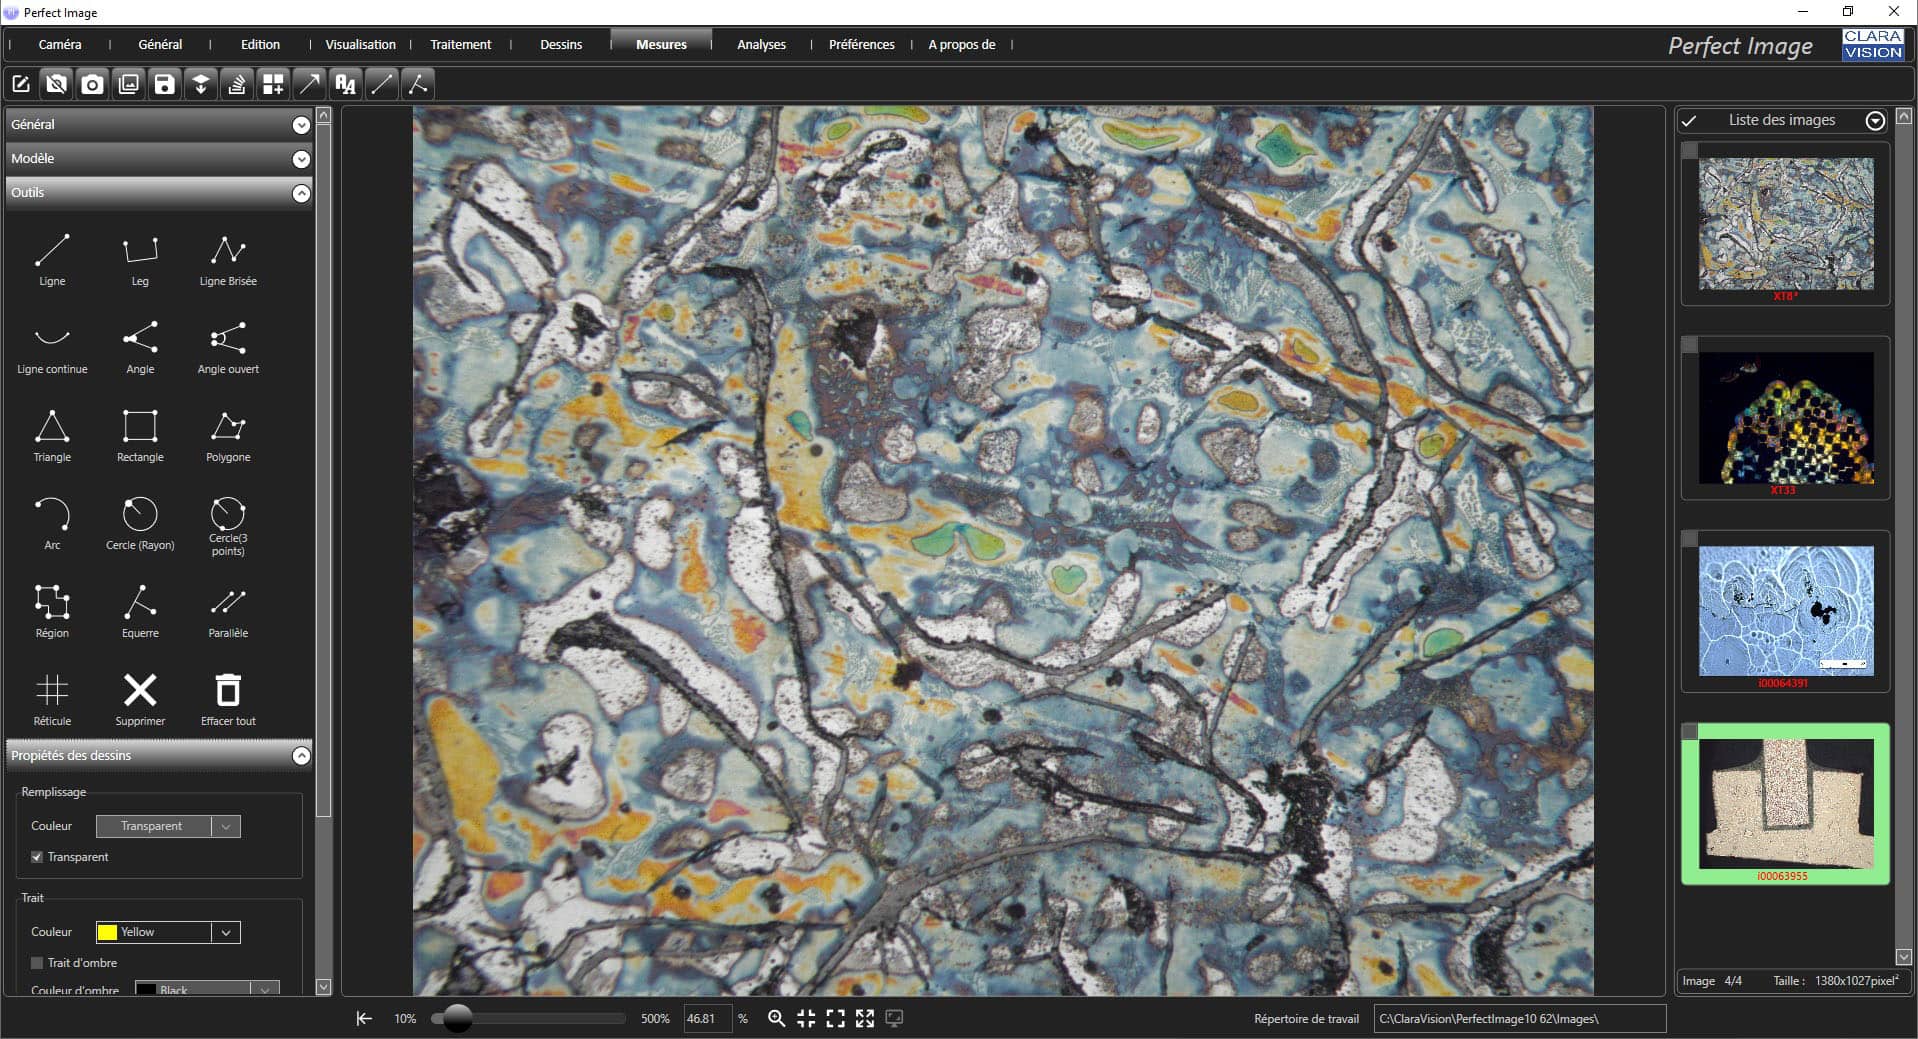
Among Perfect Image’s strengths are its many measurement features. These provide the user with great interactivity and unparalleled ease of operation. They include:
- Simple dimensional measurements
- Customisable measurement tables
- Phase analyses / phase fraction
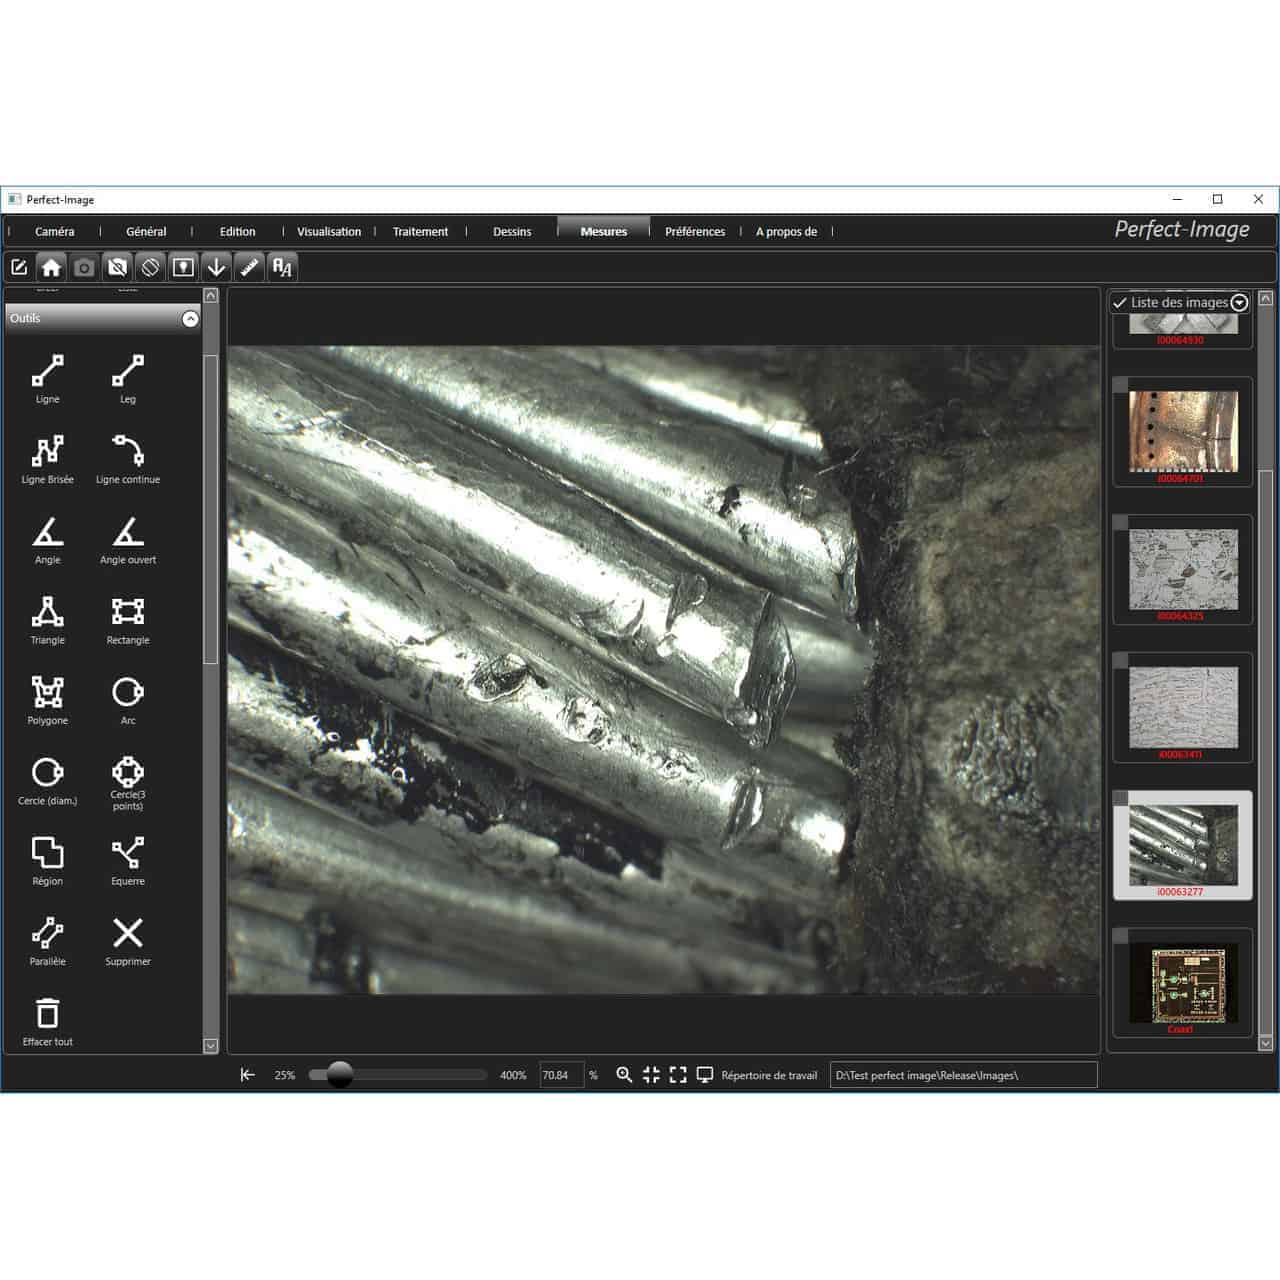
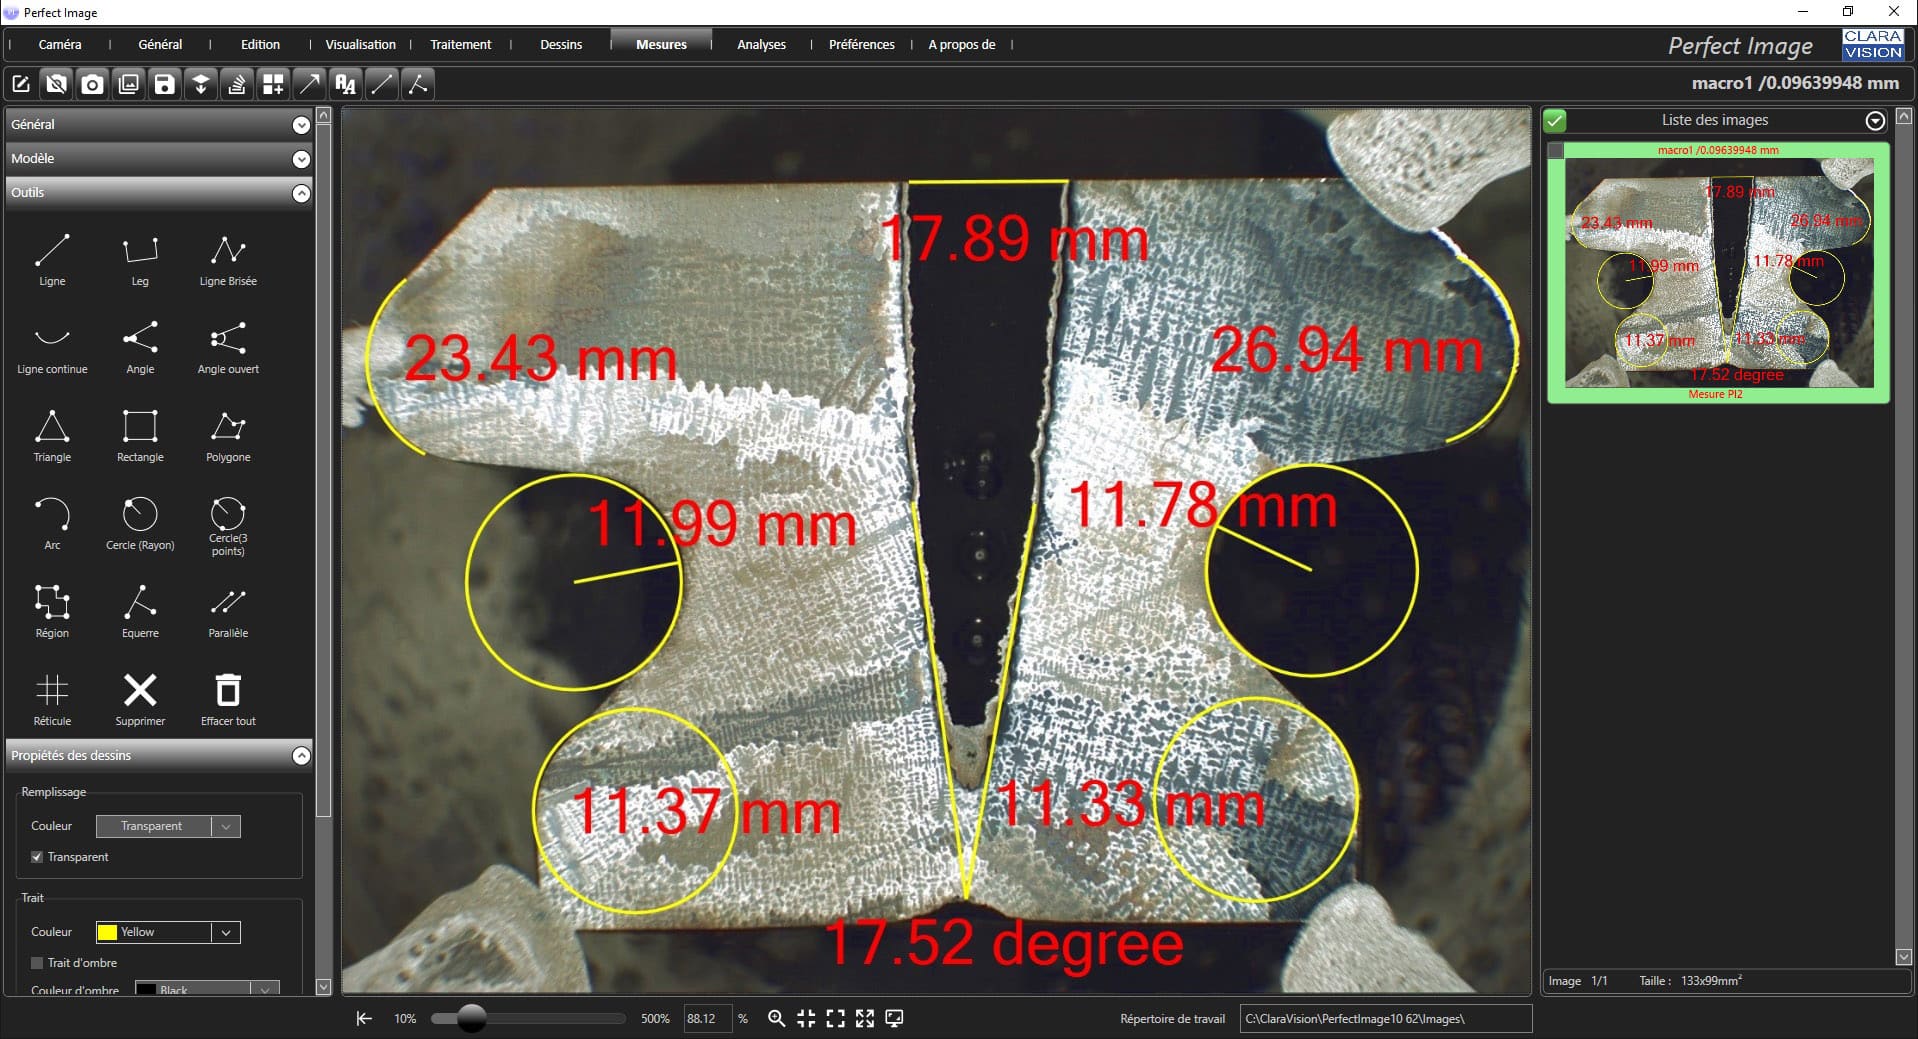
Several tools can be used to perform simple dimensional measurements. With them you can measure the length, perimeter, angles or surface areas on your live or captured images. It is then possible to export the measurements into the spreadsheet provided, with a single click..
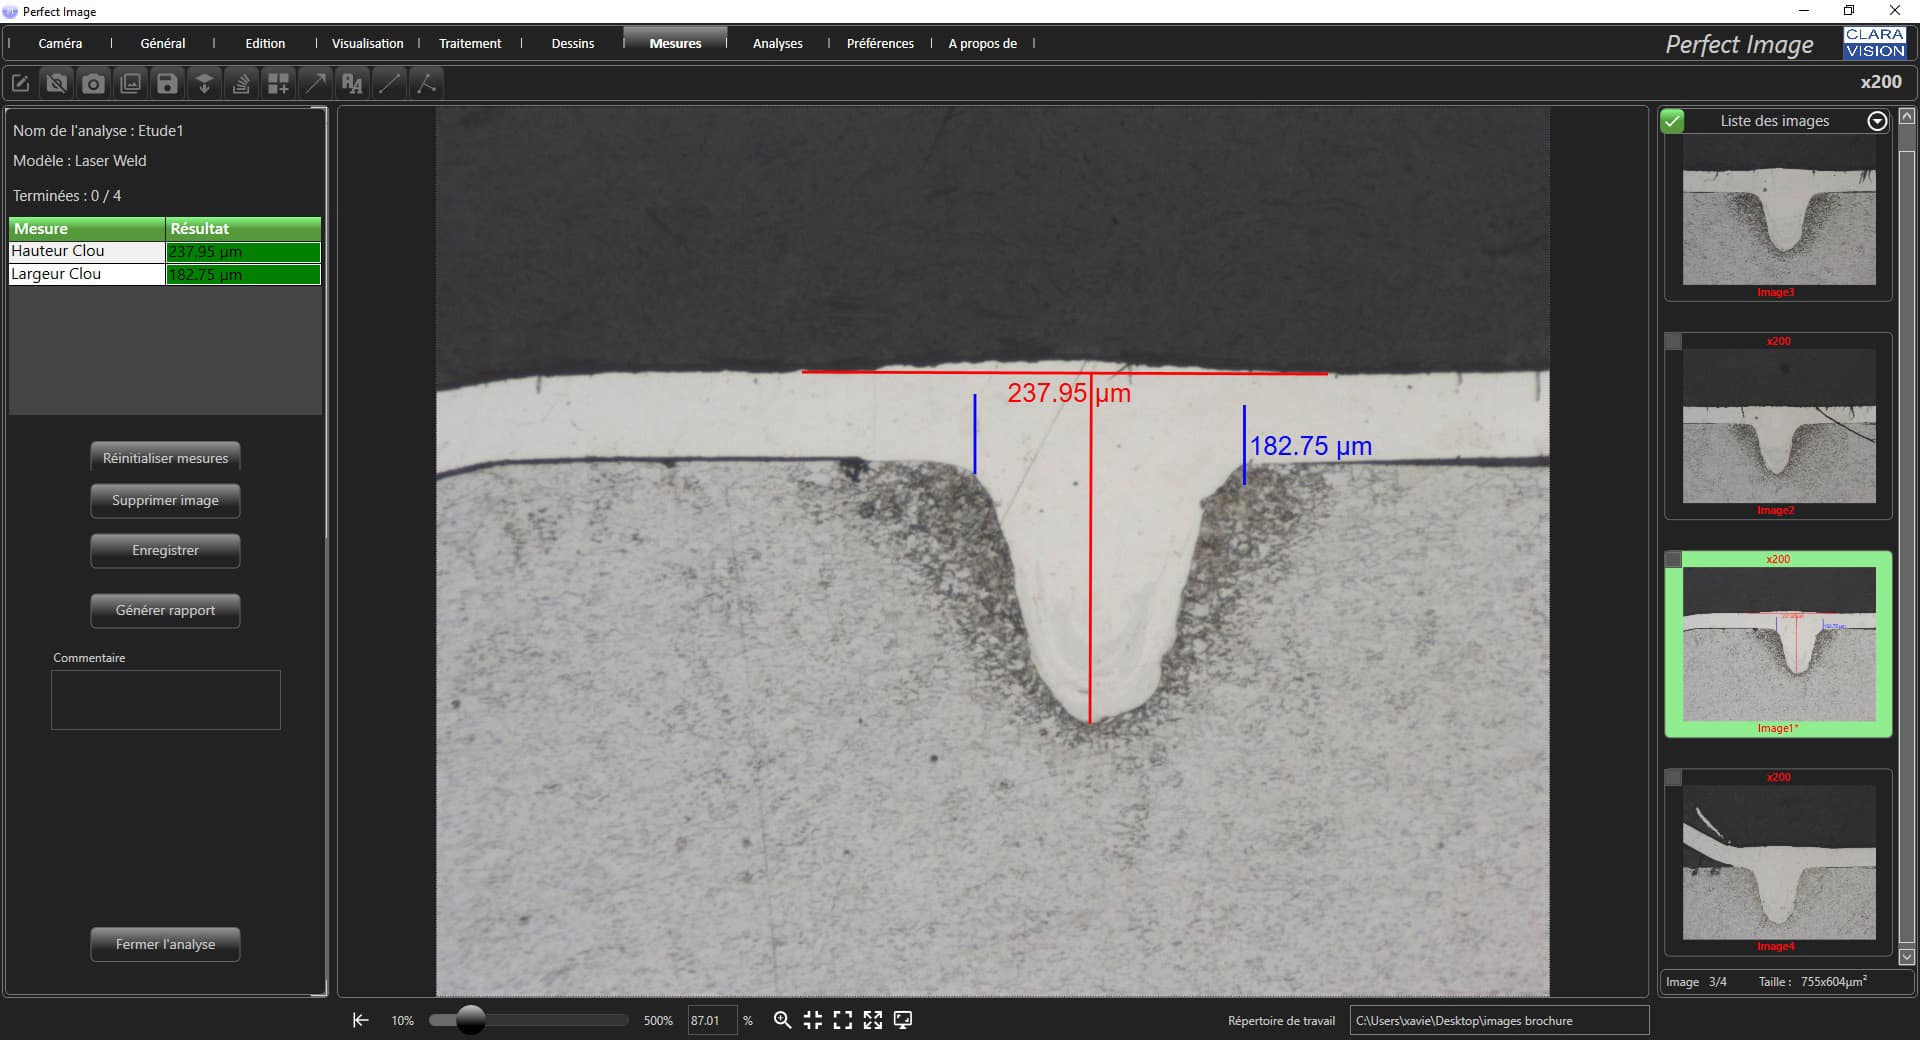
The purpose of creating customisable measurement tables is to make it easier and faster to perform the more repetitive measurements carried out by the laboratory. The measurement tools are selected by the operator, who can specify minimum and maximum tolerances. Once the table is created, a few clicks are all that are required to access multiple functions such as:
- Sample processing
- Report creation
- Statistical data access
Creating measurement tables gives operators the ability to process their samples and always take their measurements in the same manner, without risk of error.
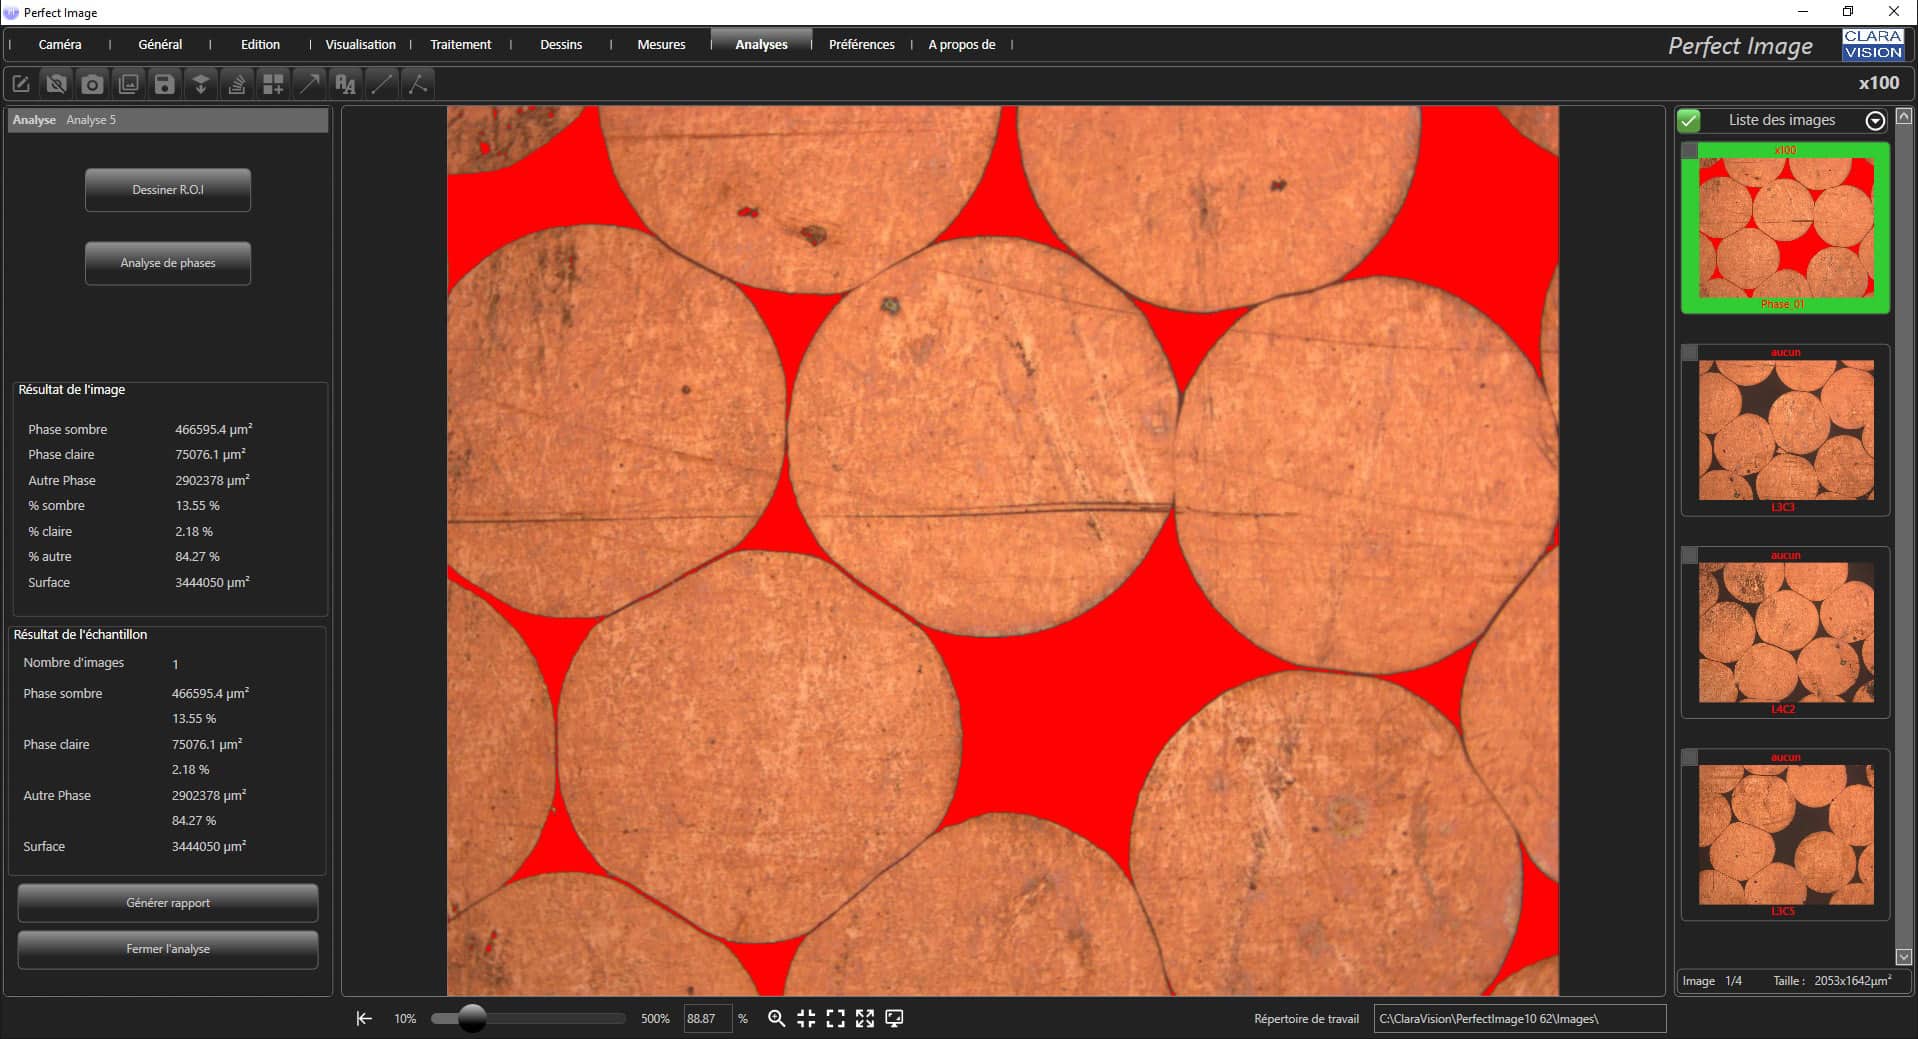
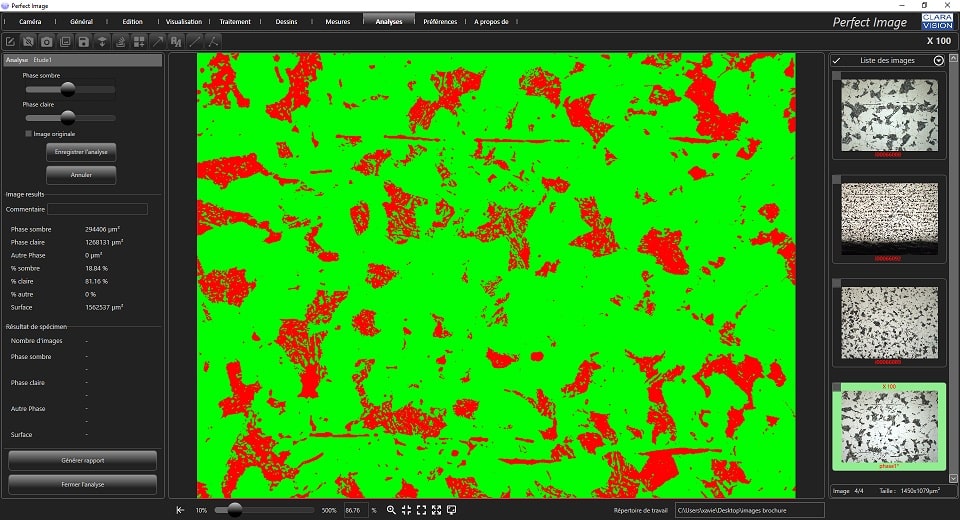
Perfect Image’s phase analysis (phase ratio) function is used to quantify the occupation ratio of one or more phases in a microstructure (porosity, ferrite, pearlite, graphite, etc.). The software gives you the choice between colour or monochrome detection. Detection is adjusted by the operator, and artefacts can be corrected manually or automatically.
All of the study’s results and images are saved automatically, and a full report is created with a single click. Similarly, users have immediate access to statistical data on their study.
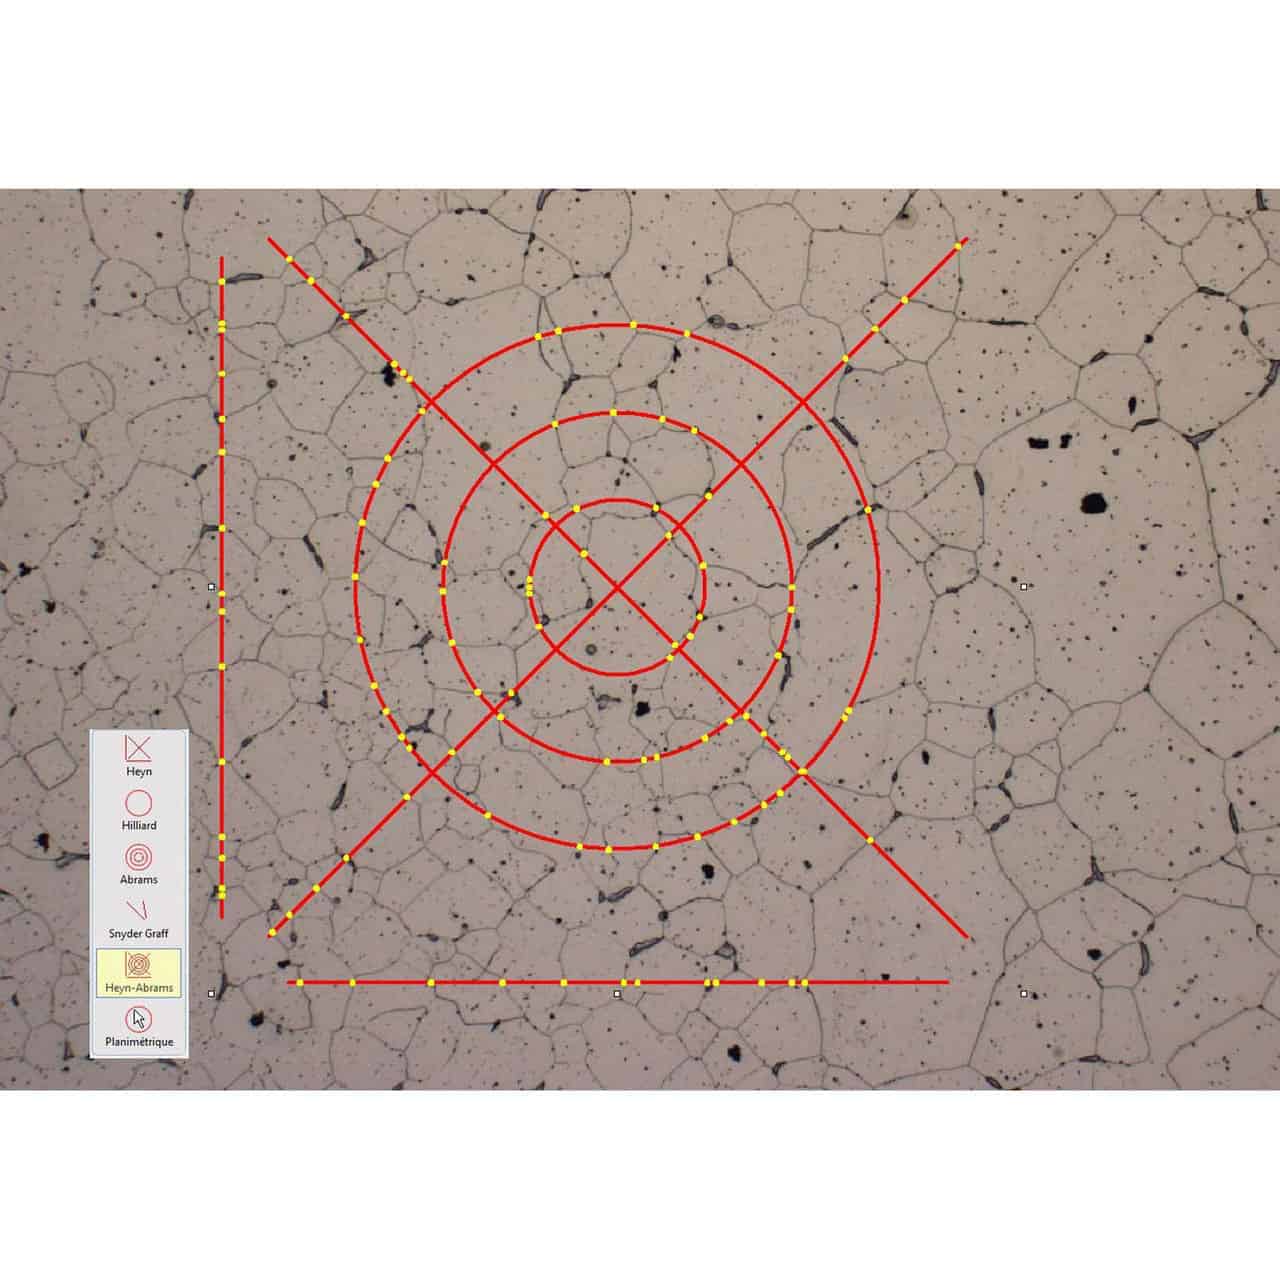
The software can be completed by one or more of many additional modules, enabling operators to use the tools that are best suited to their work. This is the case with, for example, the Grani module, which meets ASTM E112 and ISO 643 standards for grain size measurement in metallography. Simple, quick and accurate, it enables grain size measurement using 3 different methods : Image comparison, visually estimating the grain size index by comparing the sample to reference images, Intercept method, by which each grain boundary is identified by the software, and planimetry method. This is the most accurate method, as it counts the grains individually, providing a reliable, repeatable result.
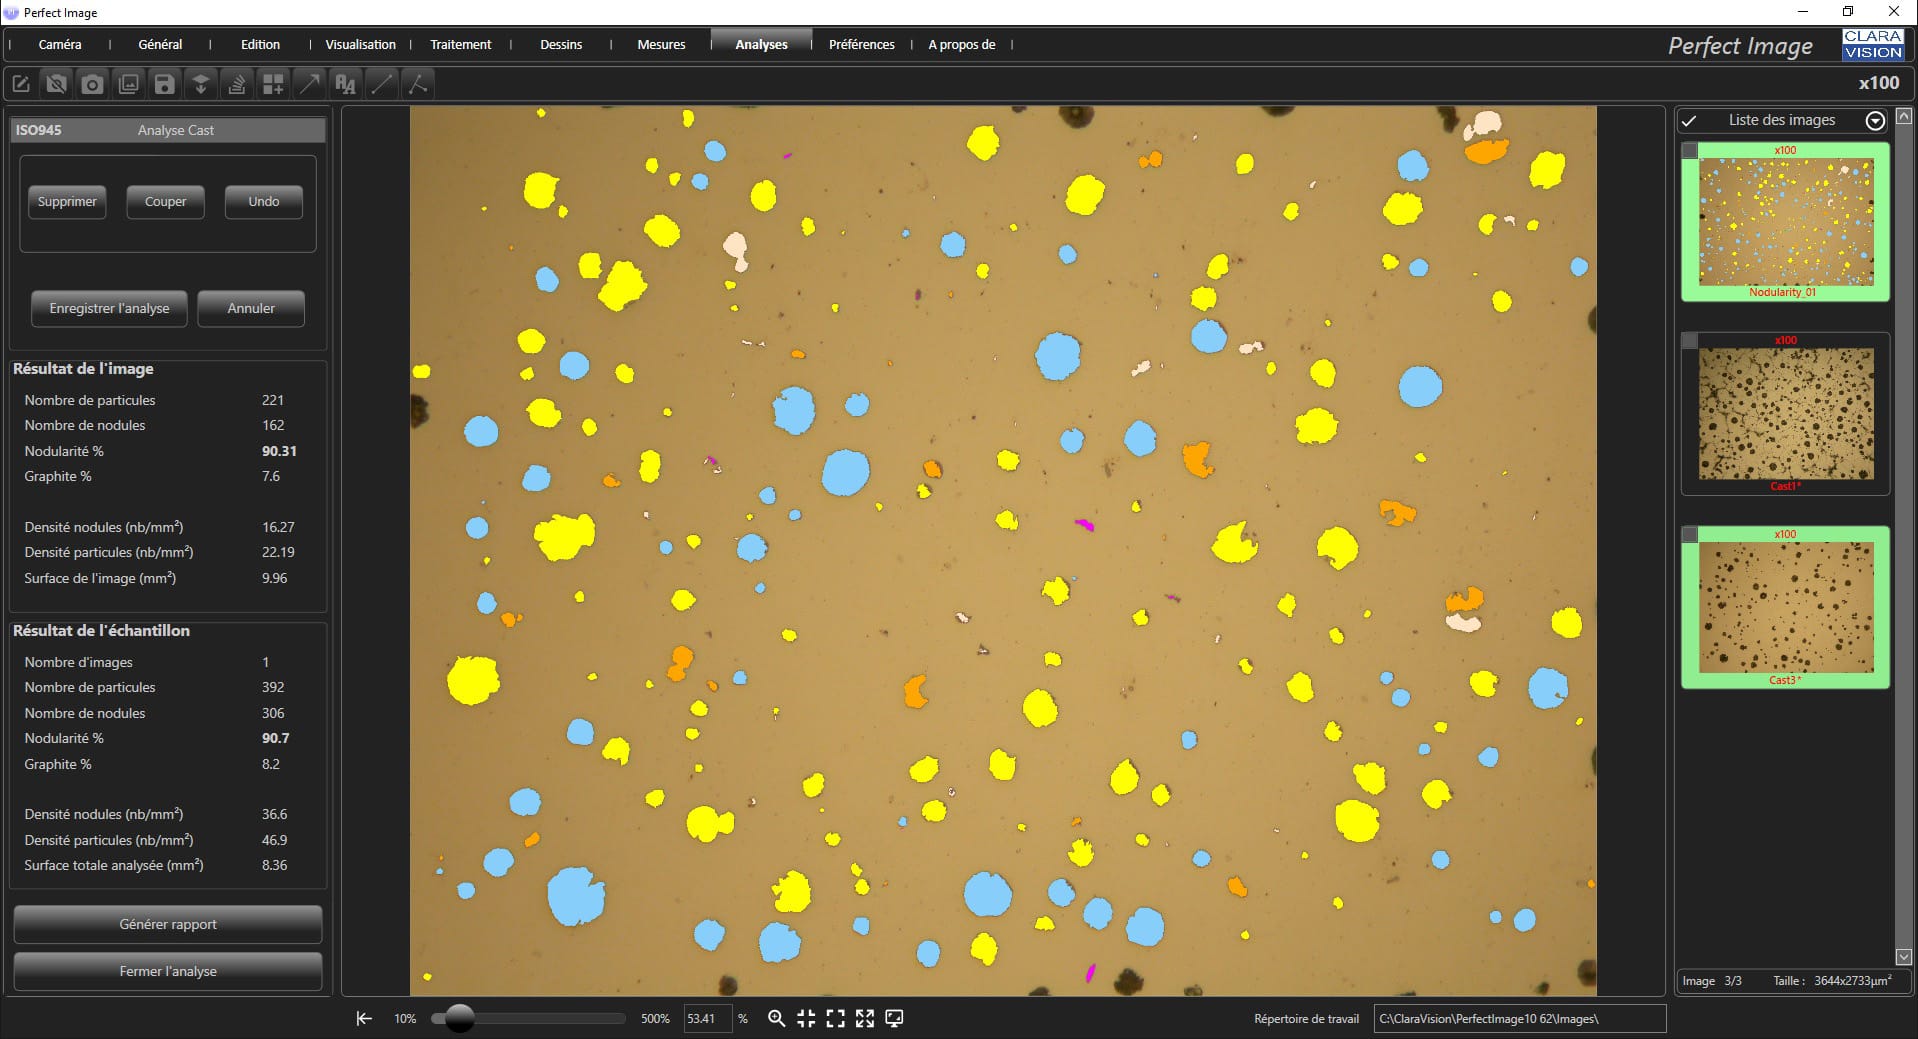
The Cast Imager module can also be included in your version of Perfect Image. This module is used to characterise and analyse casts in a production environment. With this module, by calculating the nodularity and ferrite/pearlite ratio, and thanks to the automatic storage of all of the studies that have been performed, it is possible to follow the manufacturing process as it progresses. You are therefore able to ensure that the manufactured parts satisfy the client’s demands.
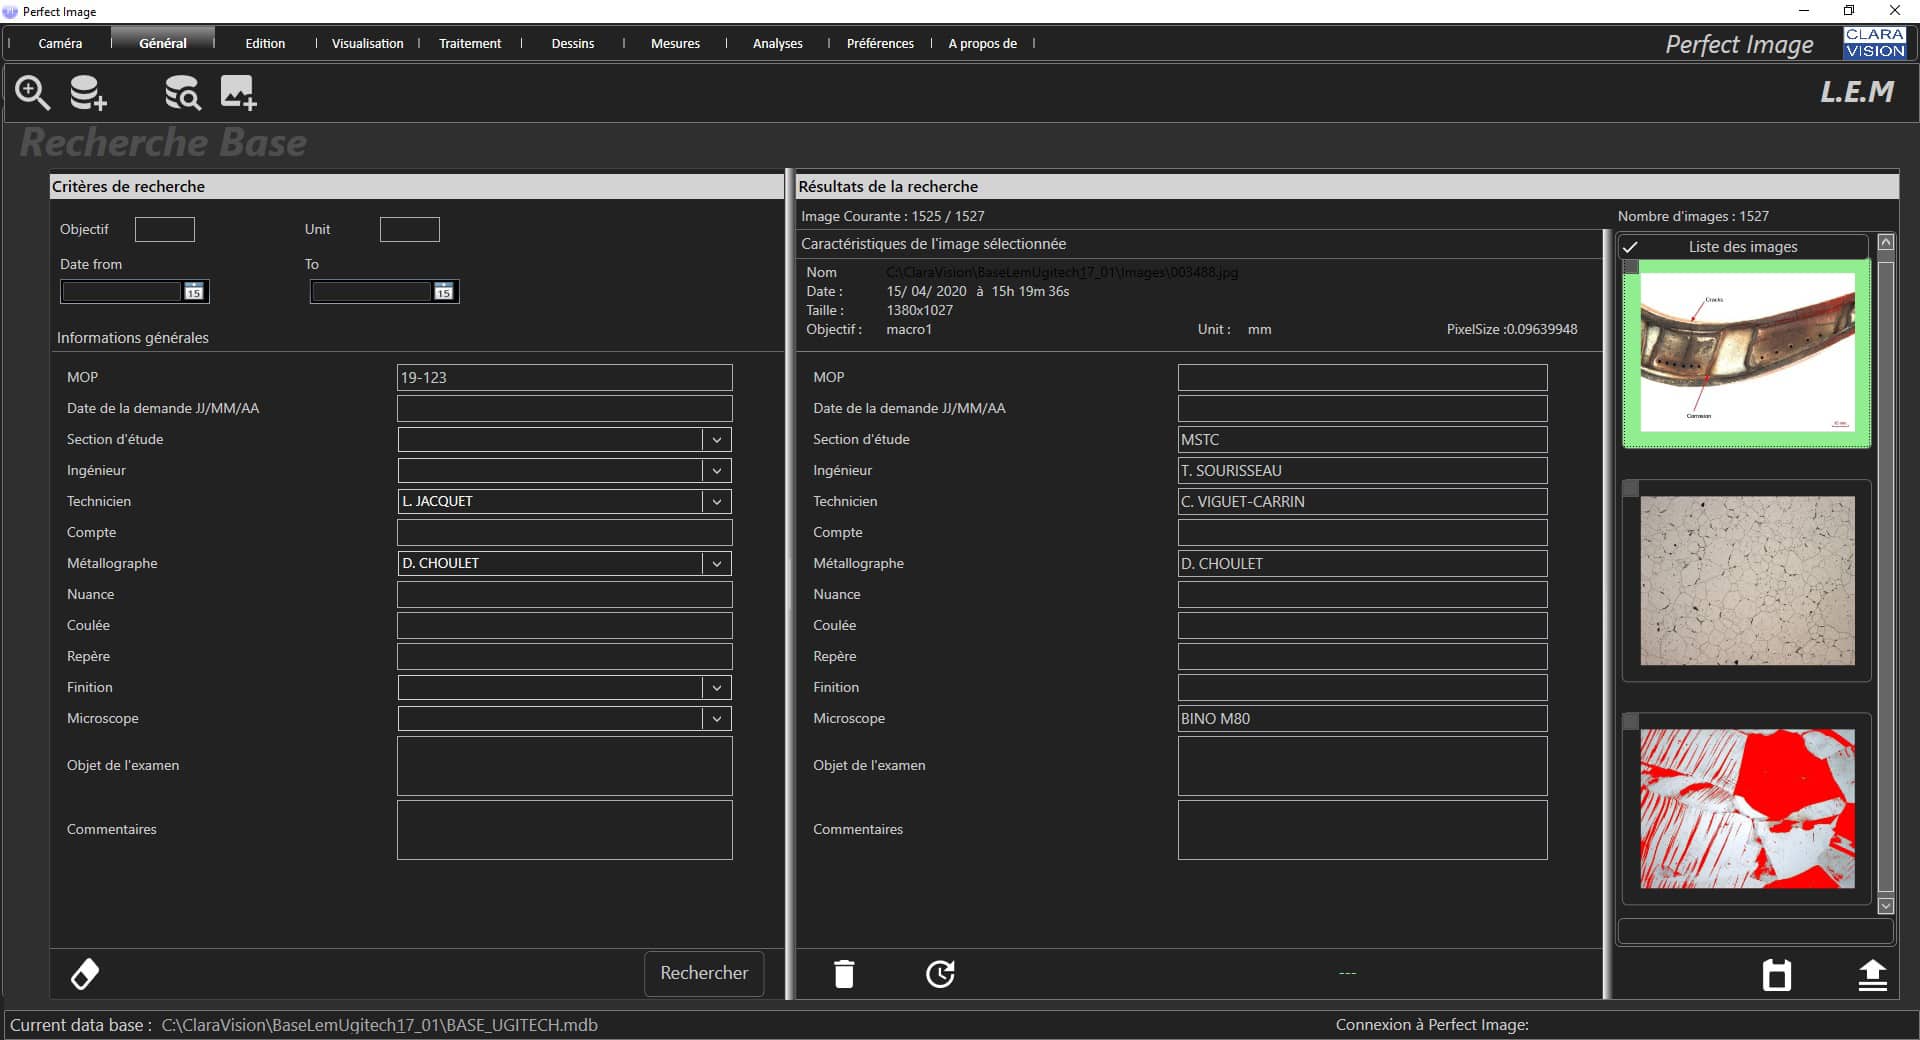
Access to an image database can also be included with your version of Perfect Image. The LEM module enables you to store each of your images with pre-defined keywords. This is completely customisable both in number and type (list of possible values, mandatory, etc.) so that it can be shared on the company server. Once stored in the database, a specific image can be found by specifying the date it was created, one or more keywords, or the name of the operator who captured it.
