Quality control of welding beads is an extremely important step in the component manufacturing process. The analysis can be carried out in a number of ways. A visual inspection can be made before looking more closely for potential welding anomalies
But what is a weld bead? How does a visual inspection work? What machines can be used to analyse weld beads?
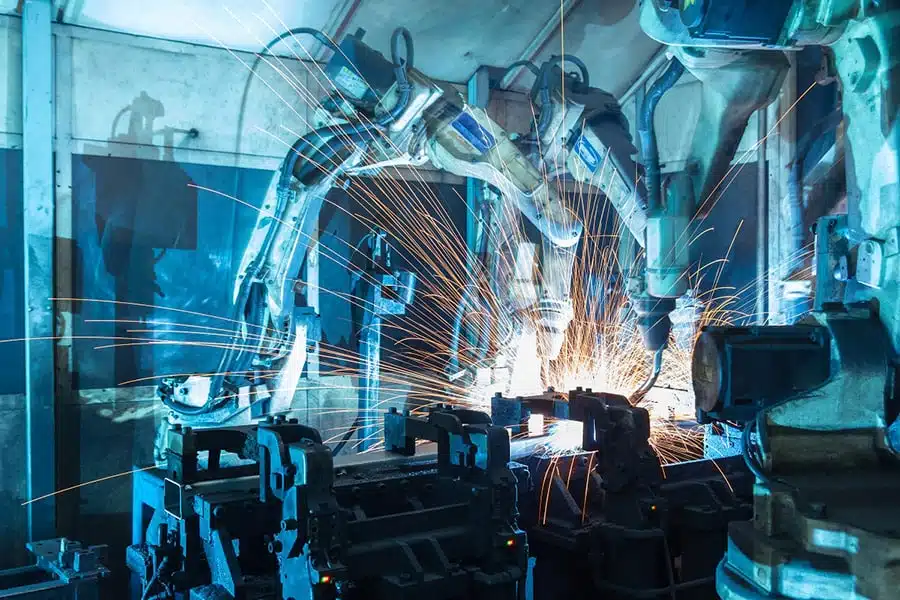
Welding robots in the automobile industry
What is weld bead analysis?
Welding inspection gives the operator a precise visual of the quality of welds carried out on a component. This analysis is extremely important, since it helps calculate the weld’s strength. This strength, or resistance to stress, is essential in order to guarantee component performance and durability.
The quality control procedure comprises three steps. Firstly, a pre-weld check is carried out. Everything is reviewed, from an analysis of the materials to be welded to a macrographic inspection. Materials must be compatible with each other if they are to provide satisfactory resistance when welded together.
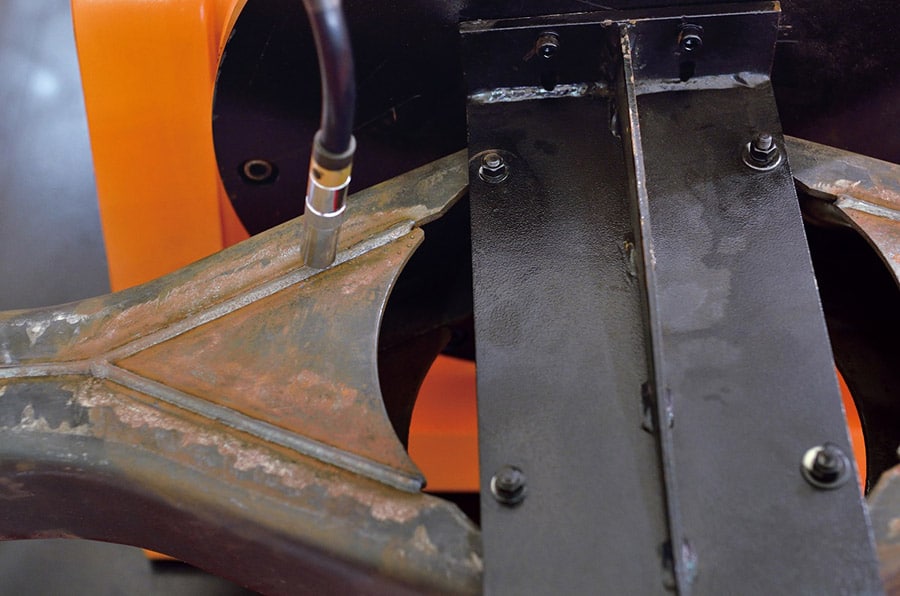
Welded car chassis
The next step is analysis of the welding process itself. This enables the operator to assess if the weld is being carried out correctly. The weld quality and speed and the occurrence of any distortions due to component misalignment, are all closely monitored throughout the welding process.
A final check is carried out after completion of the weld, in order to determine the quality of the work. After a visual check, the component passes through specific equipment, not only to analyse the shape of the weld, but also to perform detailed dimensional measurements.
This is to improve the design accuracy of future joints since by studying the weld structure, it is possible to detect different anomalies and thereby avoid repeating them in the future.
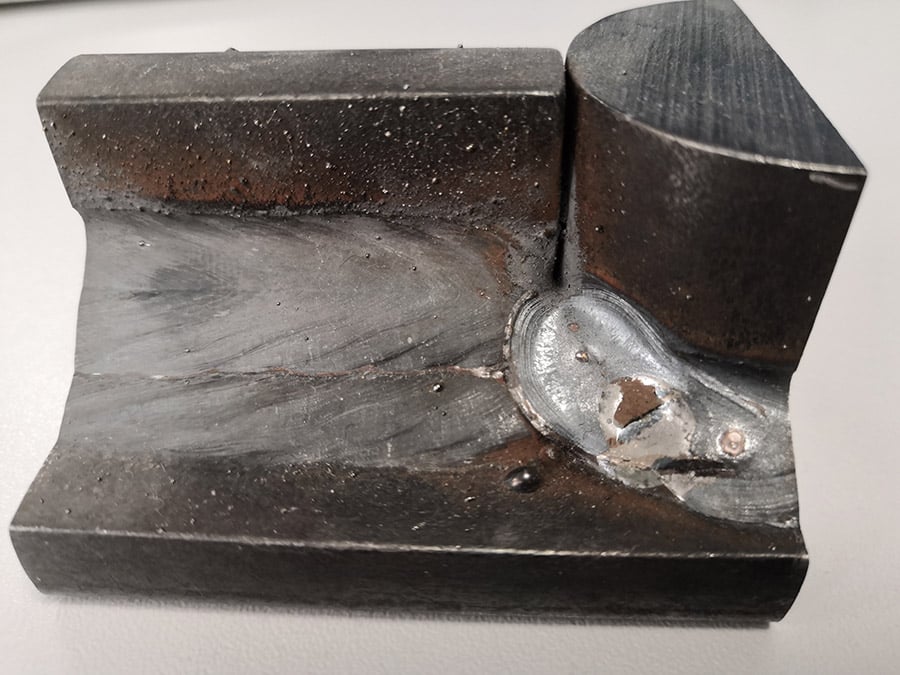
Visual check of a weld bead in the automobile industry
Quality checks on weld beads are an essential step to ensure the final component is perfectly sound. In certain industries, the automobile industry for example, each finished product can sometimes involve hundreds of welds.
A weakness in one or other seams could have serious consequences when the product is used. Precision is therefore extremely important and must be the main focus during the welding phase.
The importance of macrographic analysis
Whether for a butt weld, a lap weld or a T weld, stringent macrographic analysis is important, so as to reveal any disparities that may be present in the resulting metal object.
Firstly, a cross-section of the weld should be carried out. This is achieved by abrasive wet cutting. This method is used so as to avoid any possible heat damage to the part, as a damaged weld would affect the quality of the structural data.
With the cross-section, you will have a complete visual of the area surrounding the joint, the heat-affected zone and the different weld pass.

Metallographic cutting and polishing equipment for weld analysis
Calculations vary depending on the welding method. Certain methods require several weld passes, whereas others only need a single pass. Macrographic analysis will provide precise details on the structure of each weld. This examination can also show the size and shape of grains in the seam.
The use of certain chemical products is required to reveal the weld and conduct the macrographic tests. These products will depend on the metal that is being analysed. For carbon steel with low alloy content, for example, you should use a solution of Nital and nitric acid.
First, soak the cross-section in the solution to reveal the different passes of weld. This will make them easier to study. You must rinse the part thoroughly prior to analysis.
Some parts should also be dipped in an ultrasonic bath for more in-depth cleaning. They should then be carefully dried before undergoing macrographic analysis.
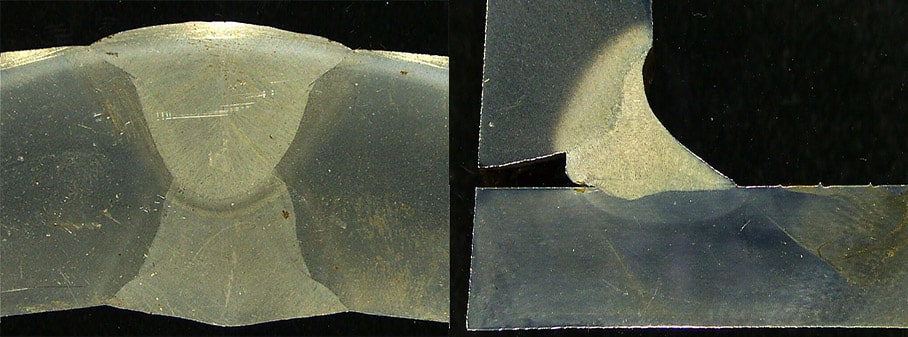
Weld bead macrography, after chemical etching
Once the weld has been revealed, you can subject it to a range of visual tests, analysing the number of passes and its solidity.
Solutions to help you with weld bead analysis
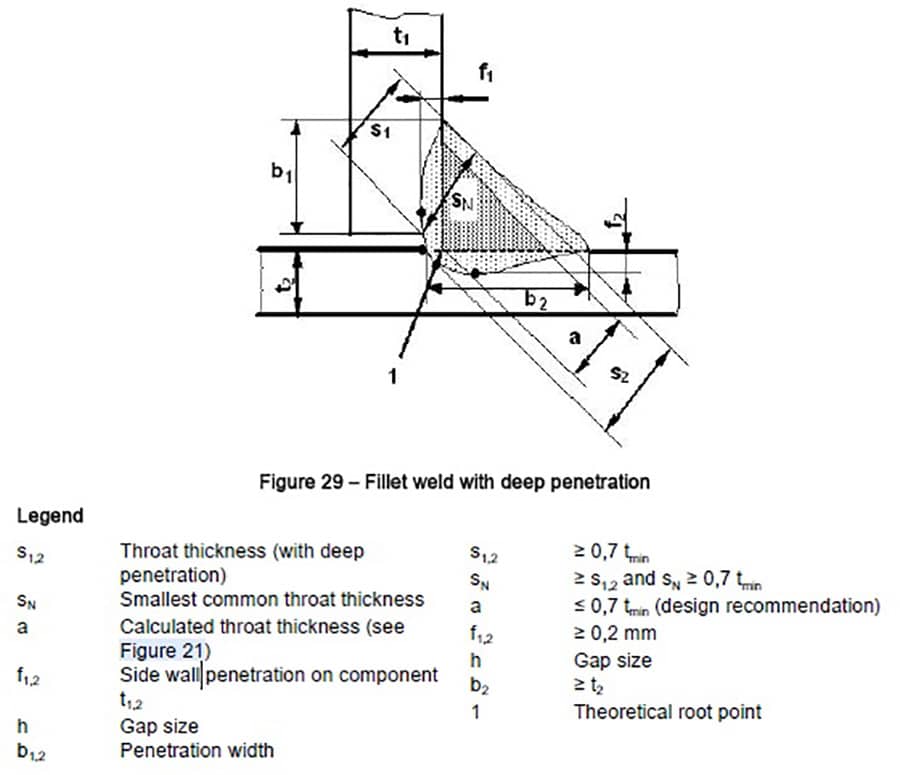
Theoretical diagram of the measurements to be performed on a weld bead (VW standard)
Many systems exist for analysing weld beads, however two stand out from the available solutions in terms of precision. These are the StructureExpert Weld-5 and StructureExpert Weld-11 systems.
StructureExpert Weld-5, essential for weld analysis
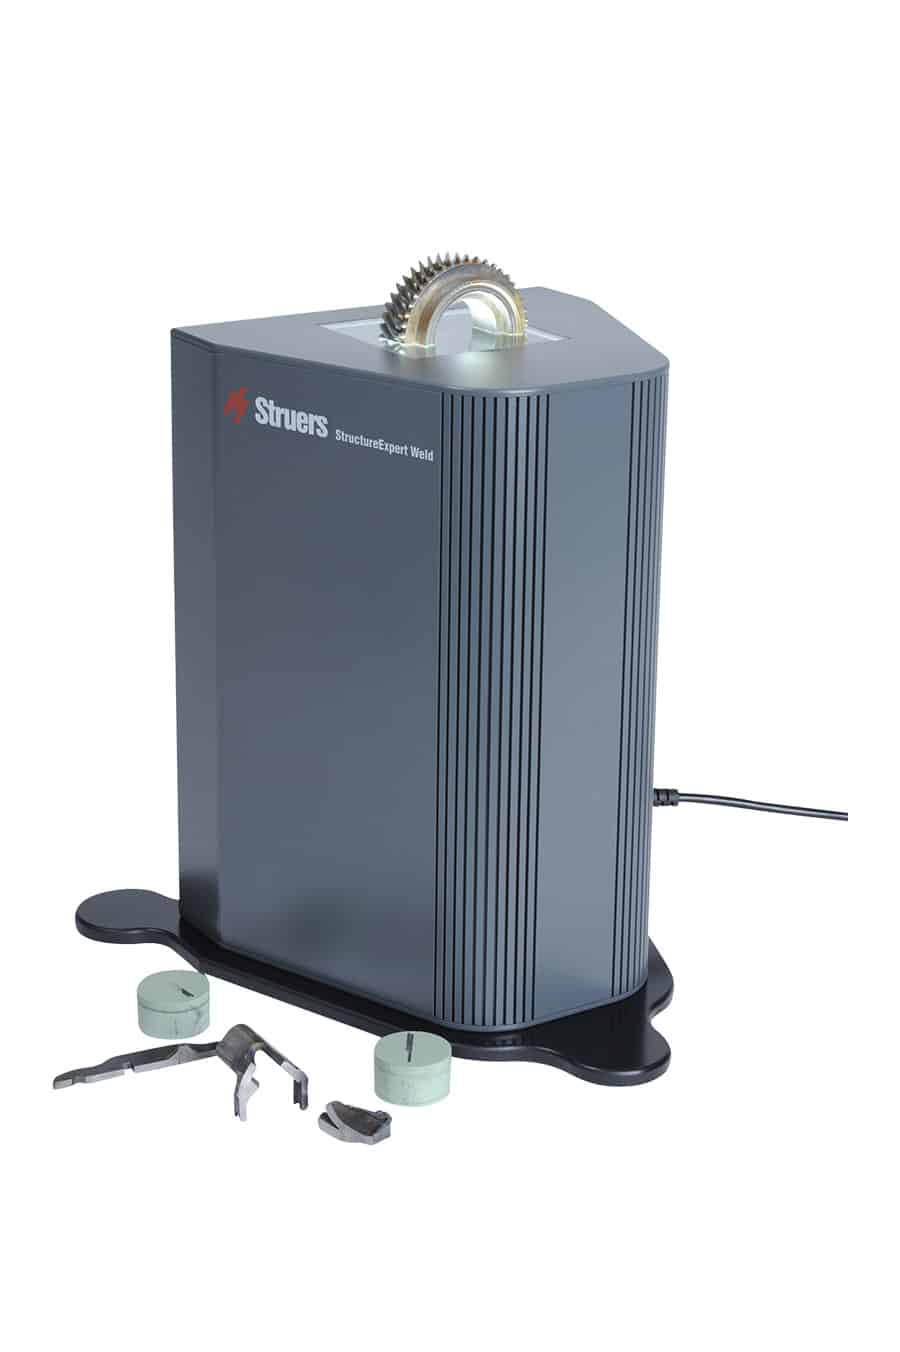
Imaging equipment for measuring weld beads: StructureExpert Weld-5
This imaging workstation simplifies weld bead quality inspection substantially. After preparing your sample for analysis, you can use the workstation’s optical system to obtain the data you require, with a high level of accuracy. Designed to work in conjunction with the dedicated StructureExpert Weld software, the machine provides the operator with precise quality control data.
The software, which can be completely customised, is also a great time saver. It adapts to the standards set out by the manufacturers. Your time is optimised and your analyses carried out more smoothly. Capable of magnifications of 2.5x – 50x, it can be used to study any component. Its field of view ranges from 80 to 4.5 mm, enabling precise readings when studying weld beads.
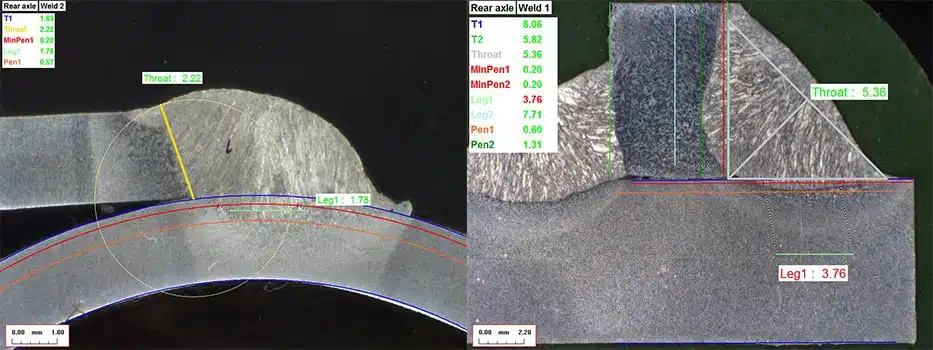
Taking weld measurements using macrography
Once the analysis is complete, you can produce reports for each component or for each weld bead.
StructureExpert Weld-11, precision for your industry
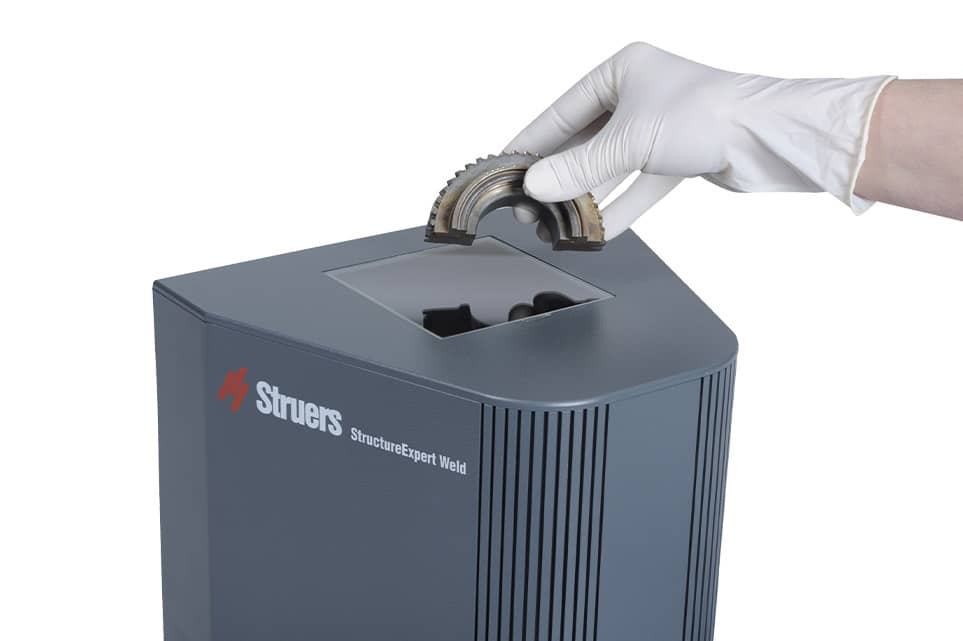
Dedicated imaging station for measuring laser weld beads: StructureExpert Weld-11
Designed to meet all the demands of laser weld bead analysis, when it comes to precision the StructureExpert Weld-11 is a technological gem.
With magnifications of 20x to 240x, this imaging equipment is one of the most precise on the market. Capable of observing weld beads of 8.27 mm to 0.68 mm, it is a solution that will greatly facilitate the complete analysis of your samples.
Using a cross-section, it only takes a few clicks to obtain a sharp image with detailed measurements and an overview of your weld bead. Its dedicated software is supplied, enabling the storage of historical data for all of the analyses carried out using the machine.
The data architecture enables operators to quickly locate a specific weld bead measurement. Statistical monitoring makes it possible to display welding procedure progress over time.
In just a few moments, you can compare the data for different components, and therefore see evidence of improvements to your welding process. Particularly suited to analysing laser welds in the automobile industry, the StructureExpert Weld-11 is the perfect analysis tool for all of your laser weld quality control procedures.
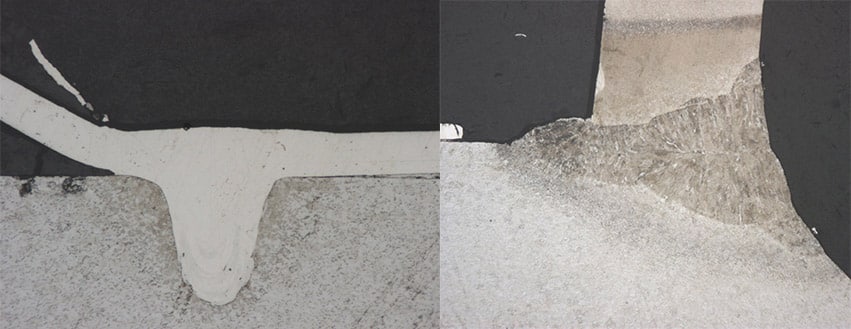
Macrography images of laser welds for the automobile industry
The importance of welding inspection in the automobile industry
The automobile industry is one of the fields where welding is the most prevalent. Whether for assembling the different parts of a car or simple repairs, welding operations are legion in the industry. Of course, specific checks are performed on the weld beads used on cars.
Mostly carried out by MIG (metal inert gas) / MAG (metal active gas) welding, automobile welds have to meet very specific standards. In this industry, many criteria are to be avoided when the weld bead is formed. Among these:
- Undercuts
- Lack of penetration
- Incomplete fusion
- Spatter
- Slag inclusion
- Porosities
- Over-roll / overlap
Operators know these defects well, and know that they are to be avoided at all costs. This is why it is important to quickly carry out a thorough weld analysis on each sample.
Of course weld beads also undergo checks depending on the constraints and stresses they may be subjected to. The greater these are, the more draconian the acceptance criteria.
So that they can comply with all of the standards that apply to automobile manufacture, carmakers rely on reliable, precise weld quality control reports. This is why the StructureExpert Weld solutions are essential for the automobile industry.
The industry requires many weld checks. Some components involve up to 500 welds. The StructureExpert Weld solution provides many advantages when used in the automobile industry. The dedicated software enables automatic report production per component.
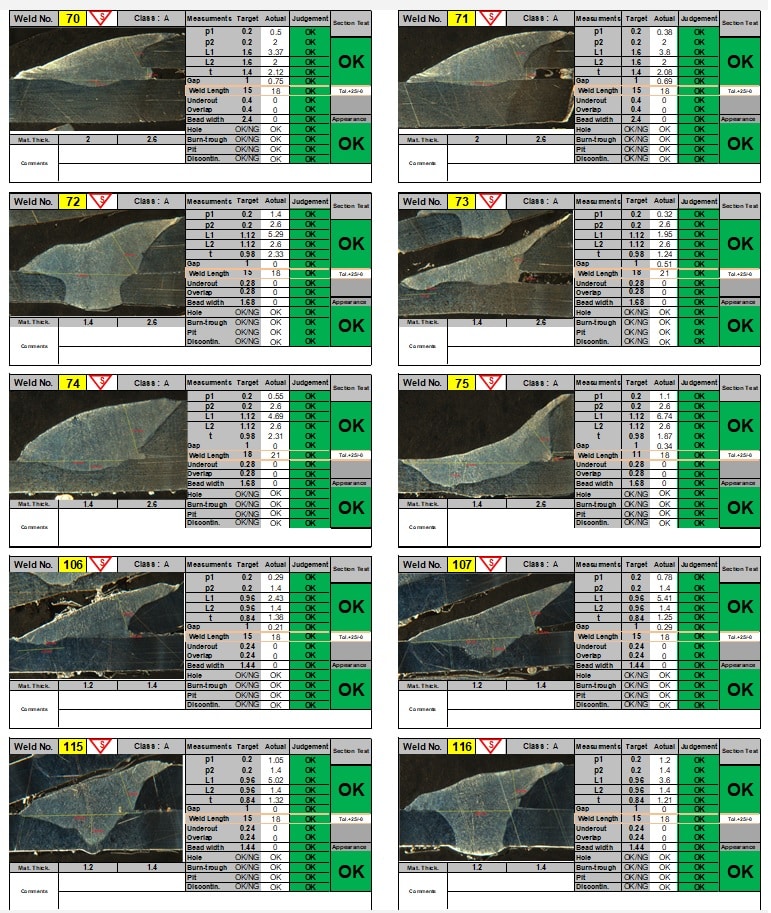
Component measurement report
This report includes the entire range of welds carried out on a given part. No need to browse through countless files to locate a specific weld for a component – everything is stored in one central location.
Also, thanks to additional software modules, a complete history of weld inspections is available, as well as statistical tracking. The statistics make it possible to monitor changes in the measurements and therefore how the welding process evolves over time, with access to all of the most common statistical calculations: Cp, Cpk, Cpu, Cpl….
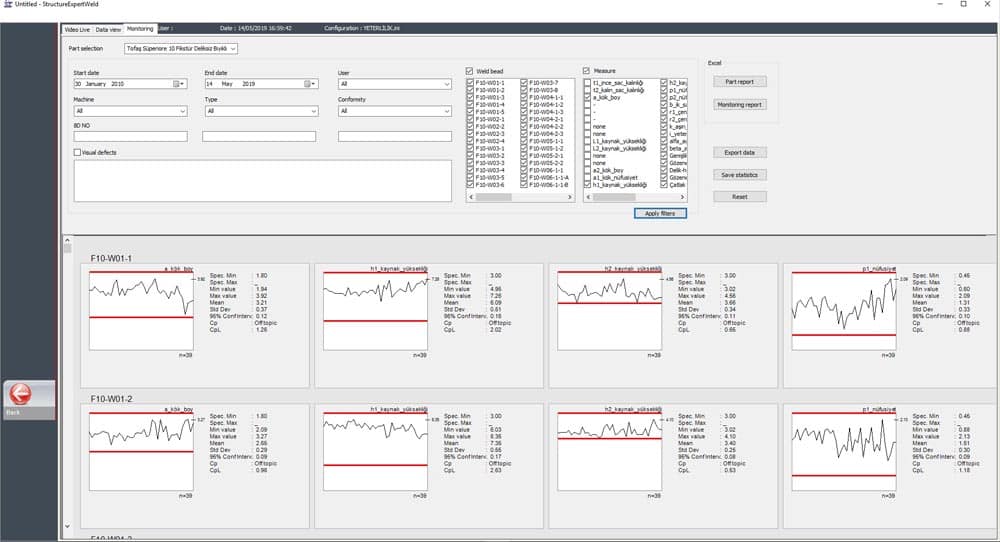
Measurement tracking for the different weld beads on the same part
Macrography vs. micrography in quality control
As previously stated, macrographical analysis is carried out on a cross-section. Polishing and etching is used to reveal the weld, which then undergoes a complete analysis process.
From the geometry of the joint to penetration depth, as well as the extent of the heat-affected zone, everything is subjected to detailed calculations and collated in a report, so as to assess weld quality. Surface and internal imperfections are also listed, providing an overall defect analysis.
This analysis is carried out using solutions such as the StructureExpert Weld-5. It enables analysis of most automobile industry weld beads, thanks to its magnification range of 2.5x to 50x.
The use of micrography on the other hand, provides a more detailed examination of the weld. The technique enables precise analysis of porosities or micro-cracks in the weld.
A complete study of the grain size and structure is also available thanks to this technique. Using the data provided, improvements to weld strength can be made more easily, with perfection as the ultimate goal.
Accurate analysis can only be obtained with high-precision equipment. Solutions such as StructureExpert Weld-11 are perfect for this kind of task. The lens on this machine can magnify the image by up to 240x. Used in conjunction with its dedicated software, the equipment will provide accurate quality control for every one of your welds.
Macroscopy, a quick visual check
Finally, it is also important to perform a visual quality check on the weld. In fact it is usually the first step in checking that a weld is sound. Visual checks and measurements must however be carried out in a very specific manner.
Firstly, it is important to have a good light source for this type of analysis. Next, the operator should be 50 cm away from the surface that is being examined, and at an angle of more than 30 ° in relation to the inspected part.
Naturally, the operator can also use a magnifying glass if required. A pocket mirror and a measuring tape will also be very helpful. The seam should display:
- No penetration excess,
- No unevenness,
- No excess bead thickness.
Any defects can then be remedied ahead of the more detailed tests.
Welding quality control – conclusion
Whatever the level of precision required, stringent welding inspection is essential in terms of the robustness of your products. Modern weld analysis relies on unparalleled precision technology, with high quality software, lenses and automation solutions. In the automobile industry and others, our solutions help operators provide ever more accurate weld quality control analyses.

Be first to comment !